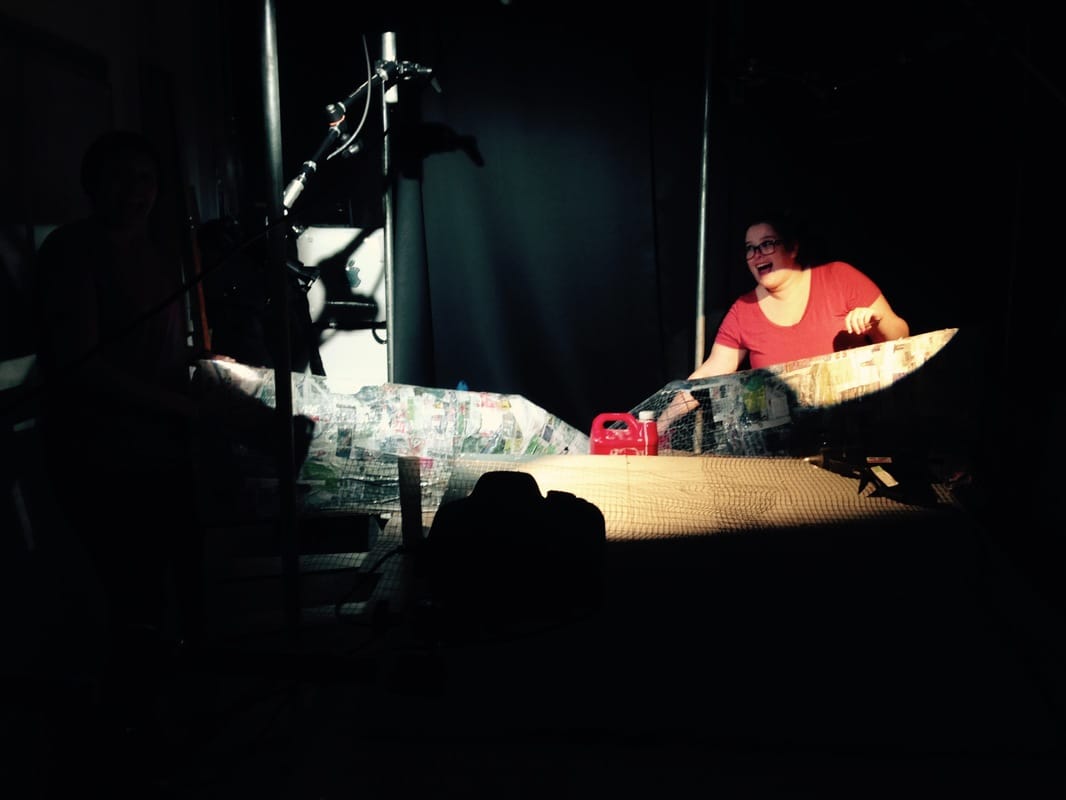
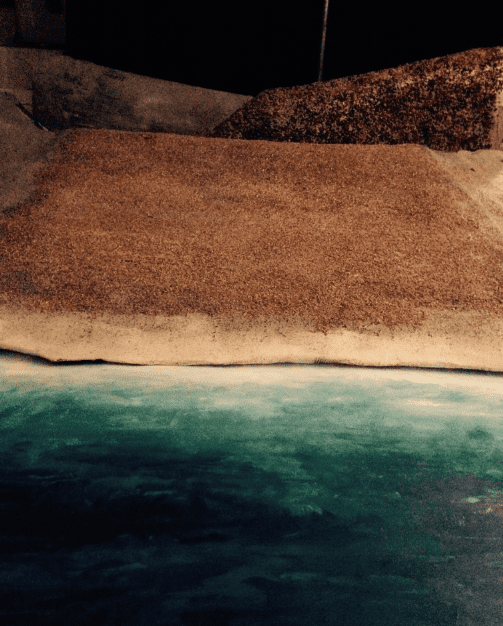
First week of shooting and i've decded to tackle the sea. Despite being set on the beach i've kept the shots of the sea to a minimum. This really the only shto that'll we'll see the beach/sea in full and is bascally and establishing shot to infor the viewer of the chrcater seroundings. The sea was created by placing a painted sea paiting under a plastic sheet coverign in a thin layer of vasalen and then putting on a few layer of cling film-quite effective. I'm going to get rid of the focus pull on this shot as i don't think it's really worked.
0 Comments
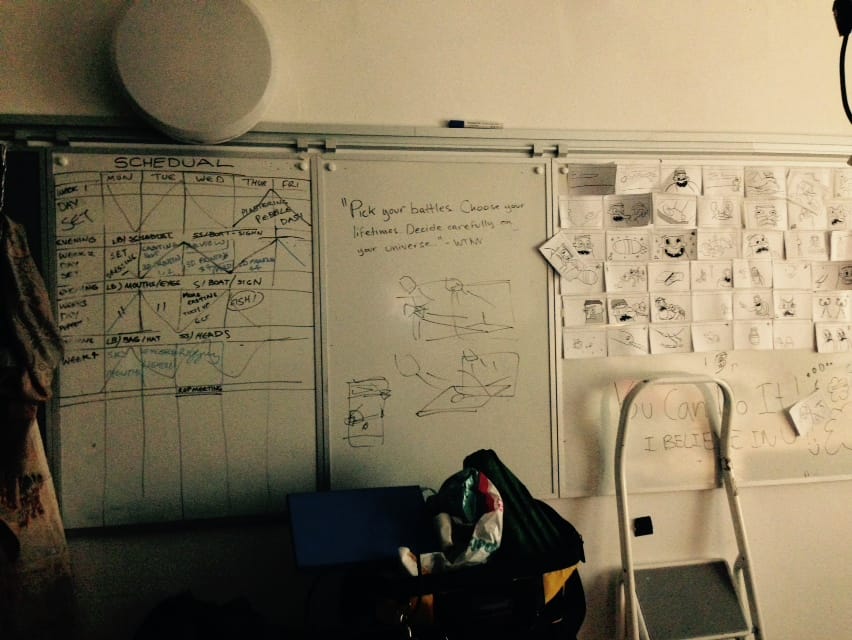
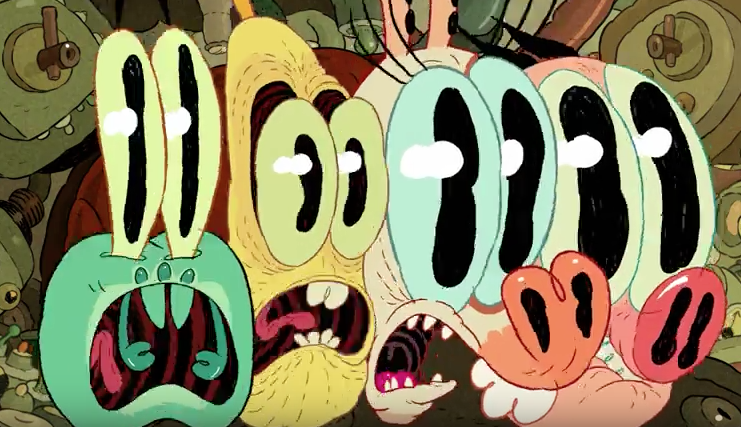
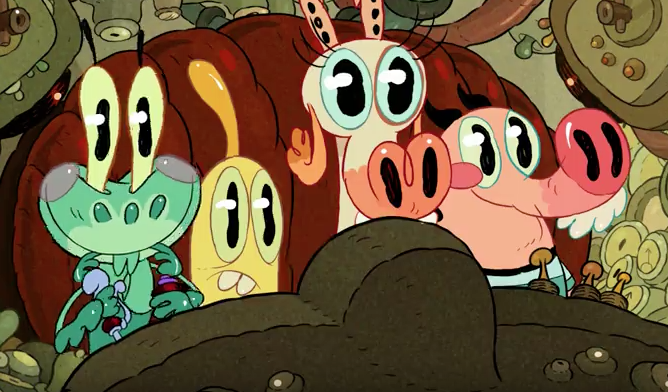
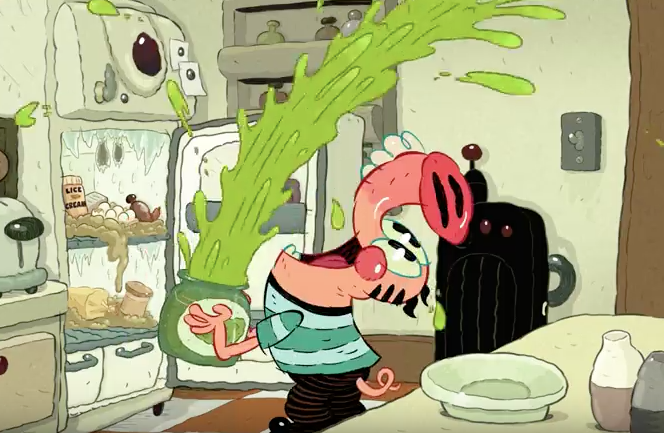
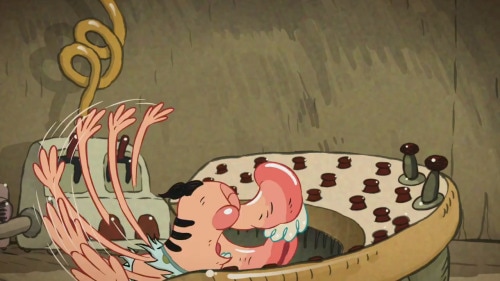
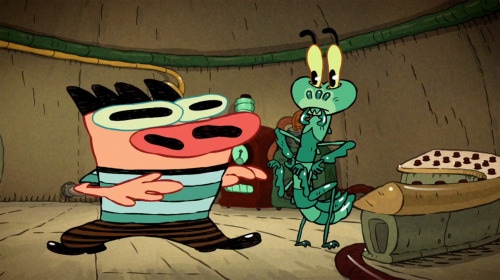
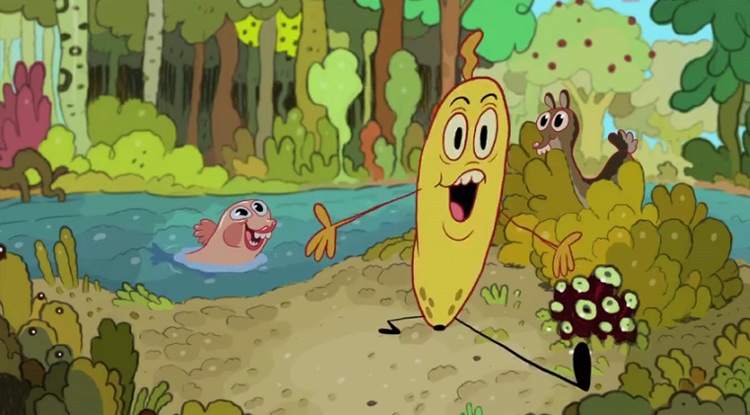
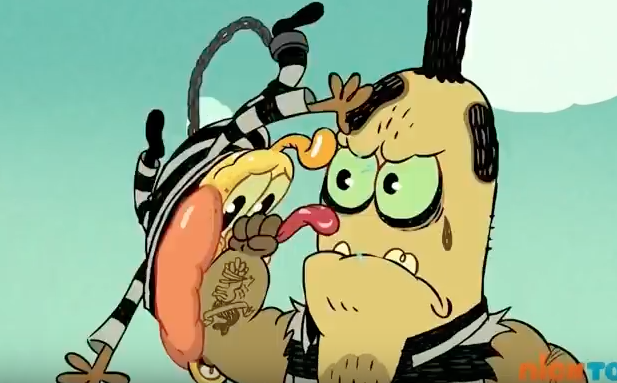
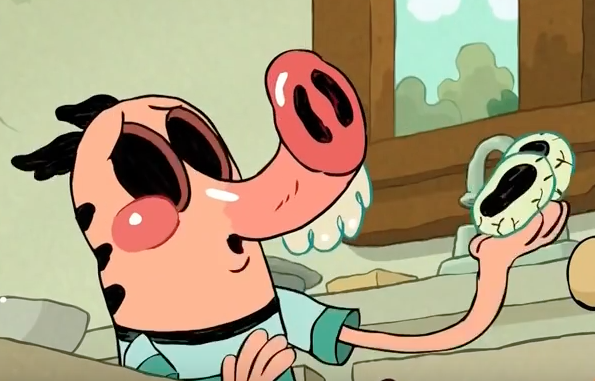
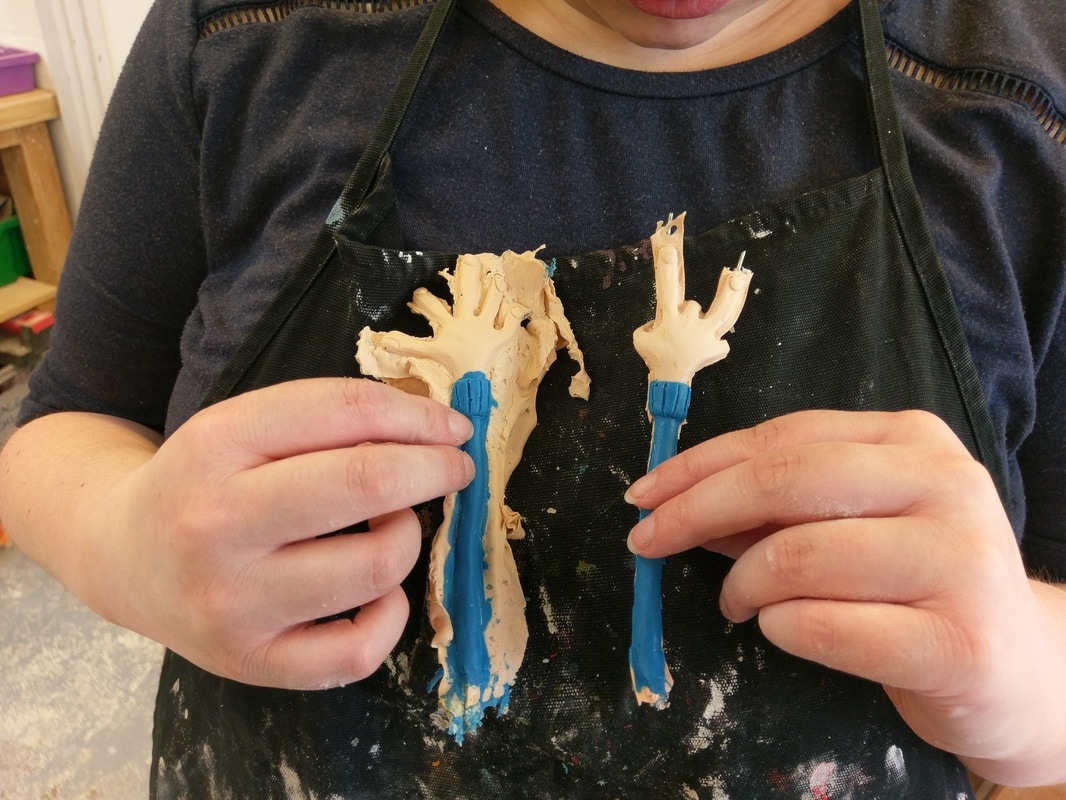
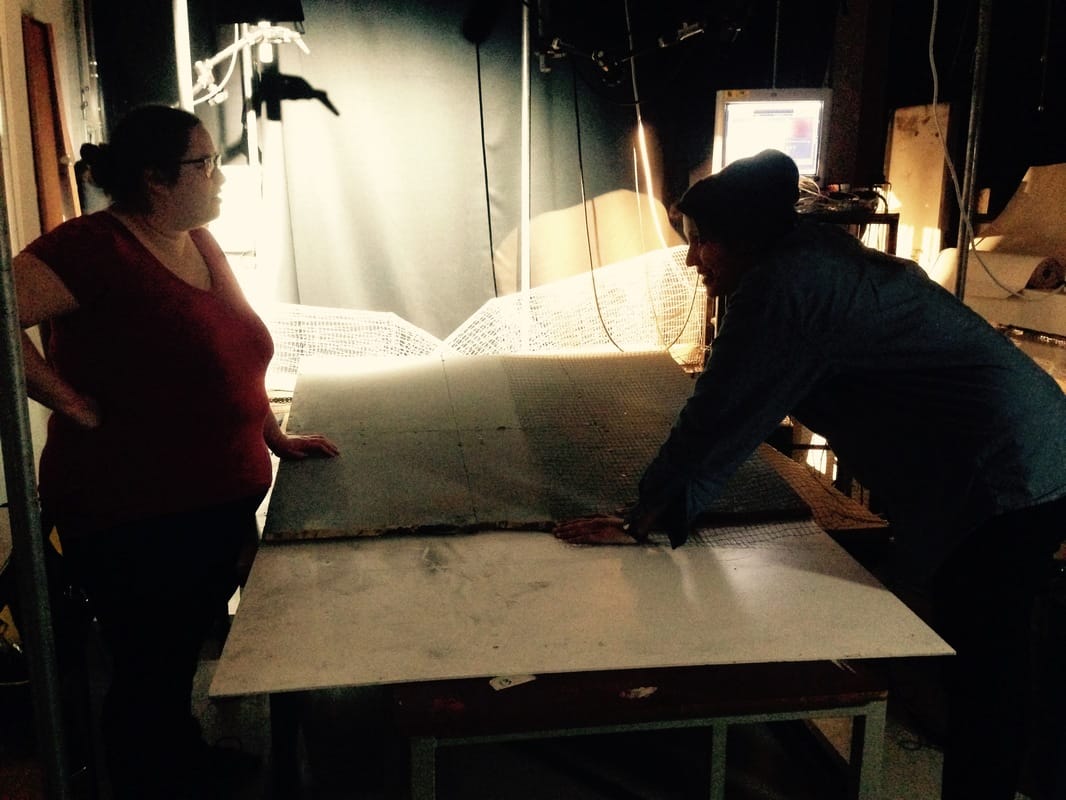
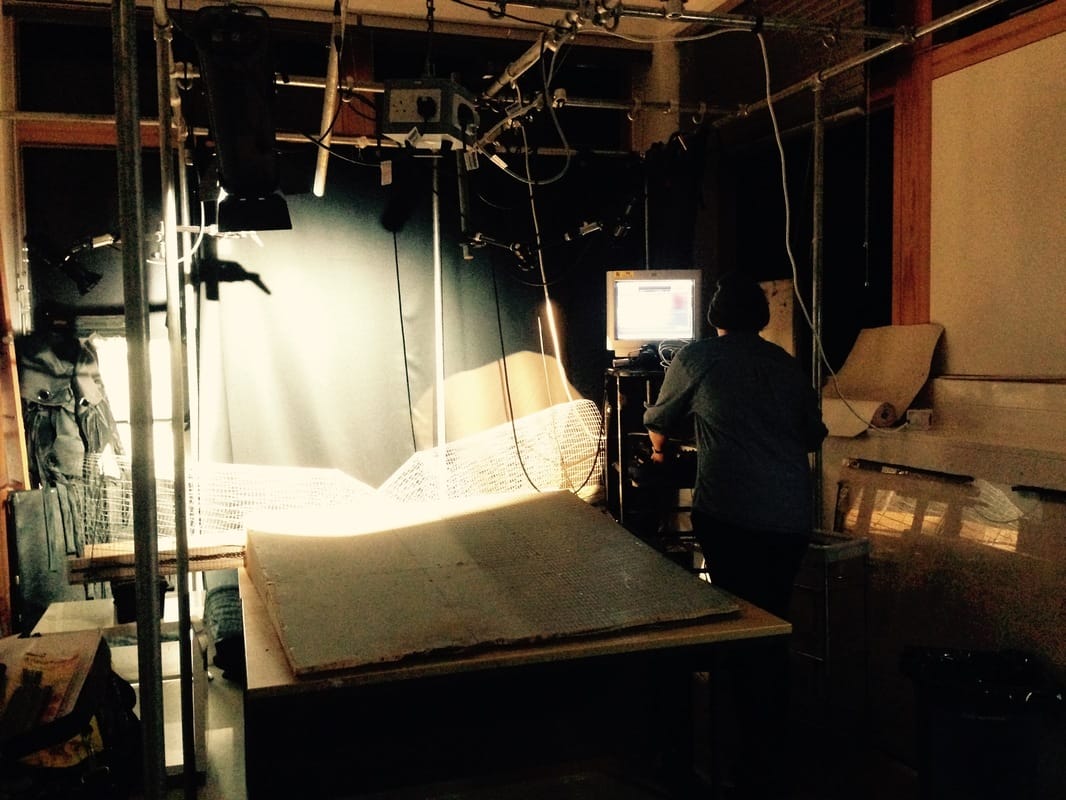
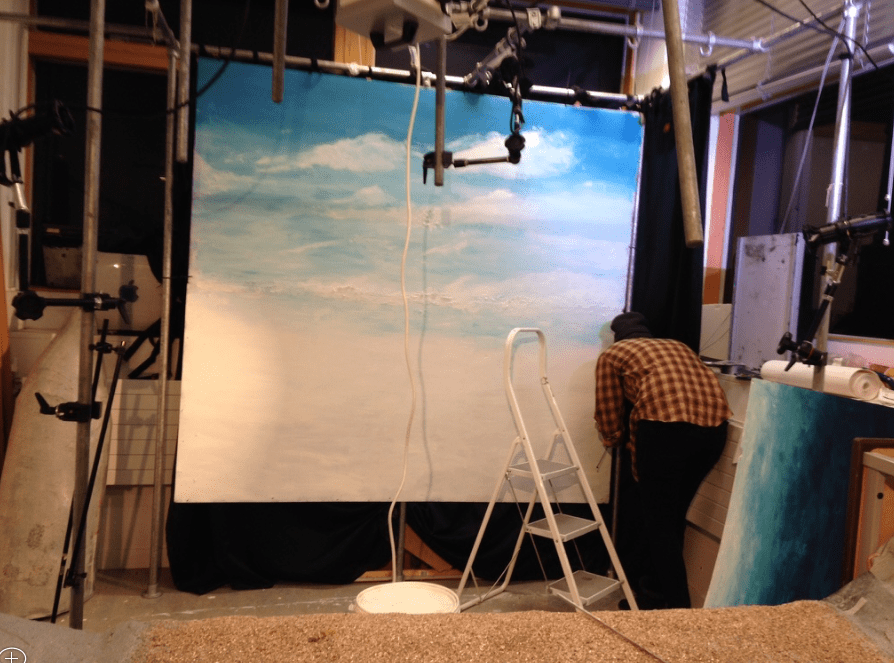
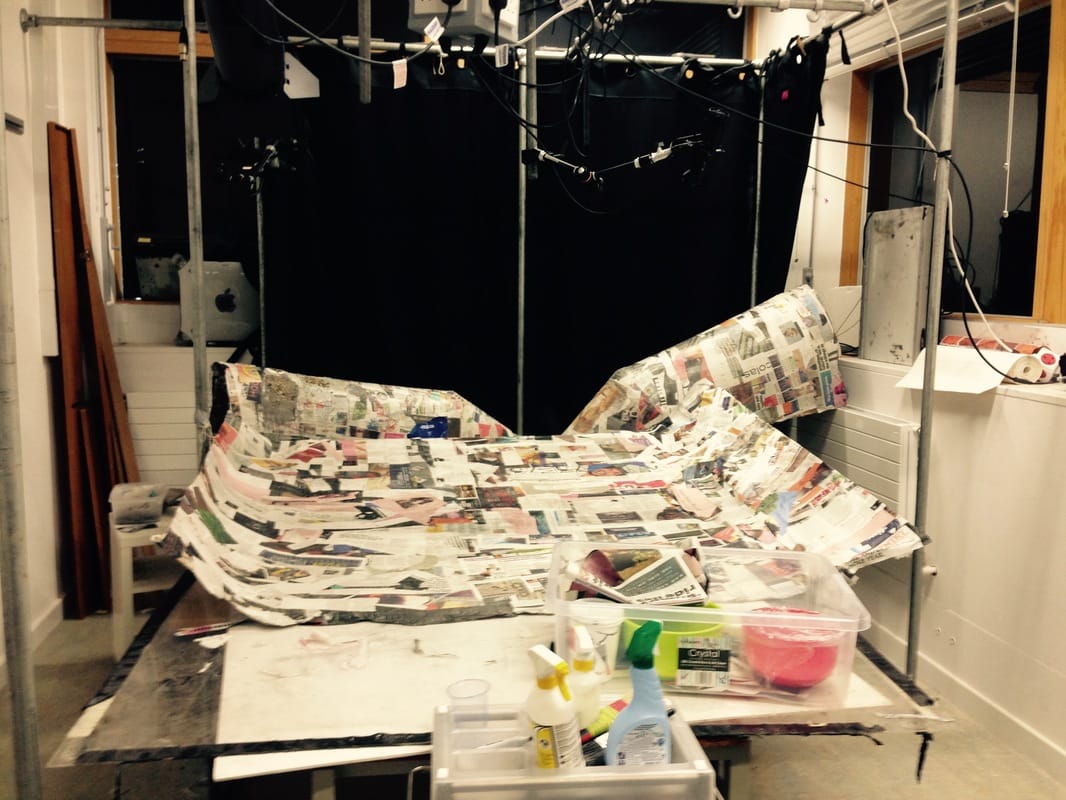
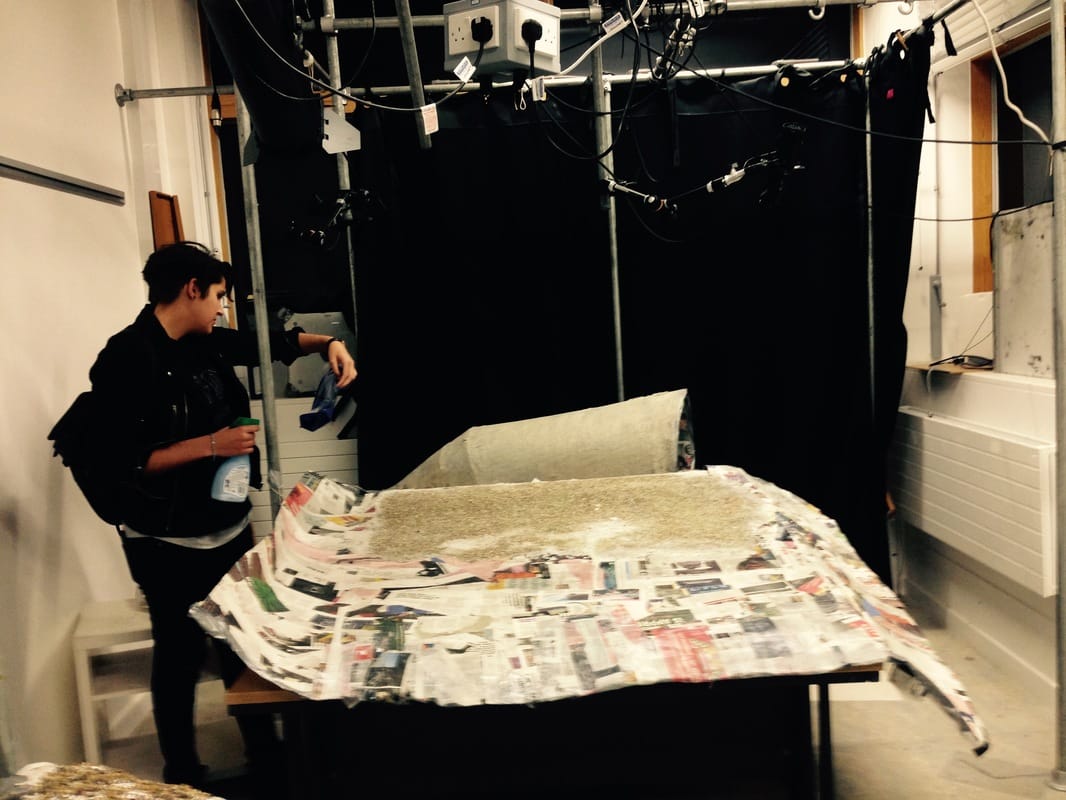
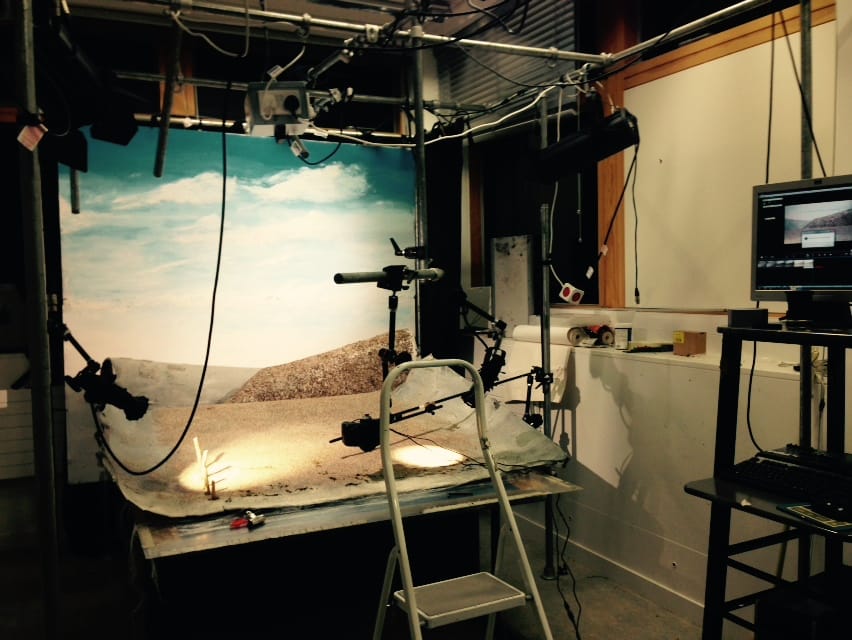
Just before I began shooting I was introduced to this creat new Nickolodian show called Pig, Goat, Banana, Cricket created by Dave Cooper and Johnny Ryan. This show really incaptulates the enery and style I have been trying to bring into my own work with Boris-Noris. I think it can be best discribed a cartoon americana, this goofy, boizare, wide eyed, rubber hose, acid coloured type of animtion which can also be found in earlyer shows like SpongeBob, Ahhhg! Real monsters, Uncle Grandpa and many otehr both in the 90's and now really tap into a child hood facination with animtion, there soemthign exciting and comforting about working in this style. Even beofre I 've started workign I know this is a style I wnat to revist, in a smaller scale, agian. I also wonder about the potential for beign hired for this style of work as many practiners I have mention in my Case Studys here have been involved with adapting shows like this into a stop-motion episdode, however they do have the added advatge of being based in america where most of these shows are made. Castign proved very tricky and actualy neded up taking alot of time to perfect. We tried almsot everythign to get the silocne to work, we decompreseed, before after and durign casting, added catalist reducsed catalist, enjected, painted, enjected and painted. To know availe we asked anyone and everyone we could to try and figure out why it wouldnt work. In the end we took the most low tech approach possible we did deomcpress and simly bult up the silcone in layers inside the mould and the pressed them together usign the final layour of silone liek glue, we trippled the catalist as it was 1% and compltely undictatebale to the scales when were makign up the small amount we needed for each componet( roughly 10-20g each time). Finally success came in just teh nick of tiem ad we were able to create a fully function puppet the frieday before shooting (beging on the monday) 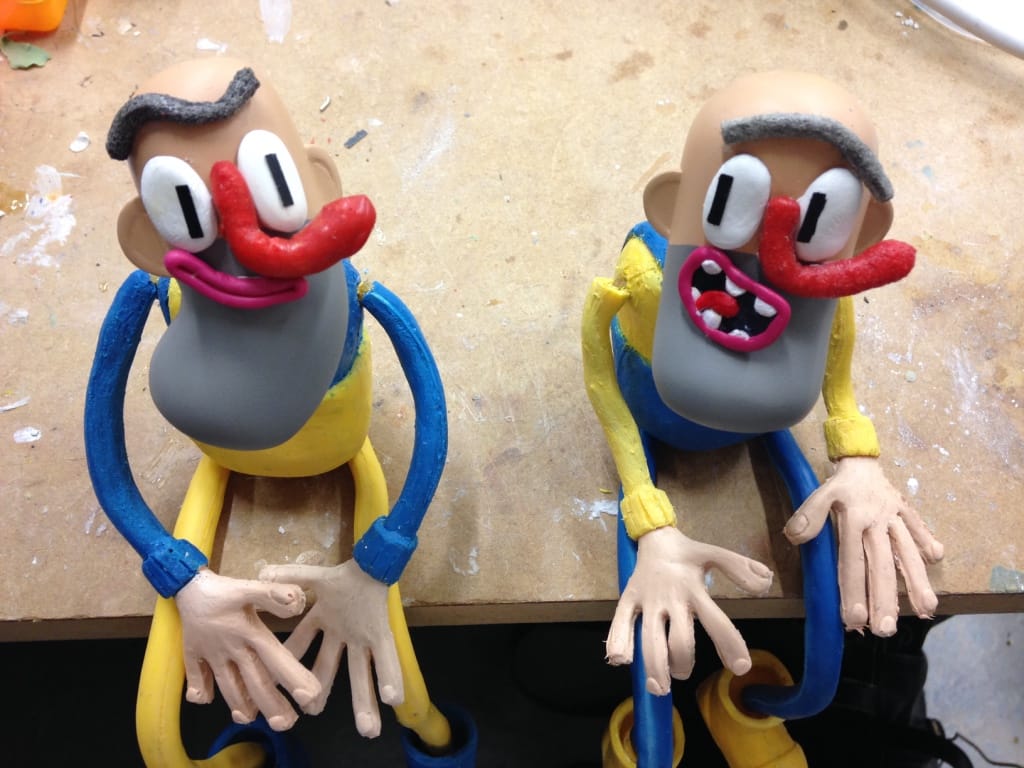 The set is up and ready now after what feels like month of planning, Sasha made the base for the set out of wood and chicken wre at hoem in her garage and the transpoted it the UWE studios so we could add more wire, papper masha, plaster and essetialy pebble dash the entire thing- this was the section we got the most hand on board to help getting three fellow students to help plaster and pebble dash as it was easier to get it all doen in a week so plaster ddint dry before we coudl cement in the peblles, pretty much the hole thing was PVA'd over to seal in the rocks and reduce the amount of movemne of pebbles on set whalst shooting. 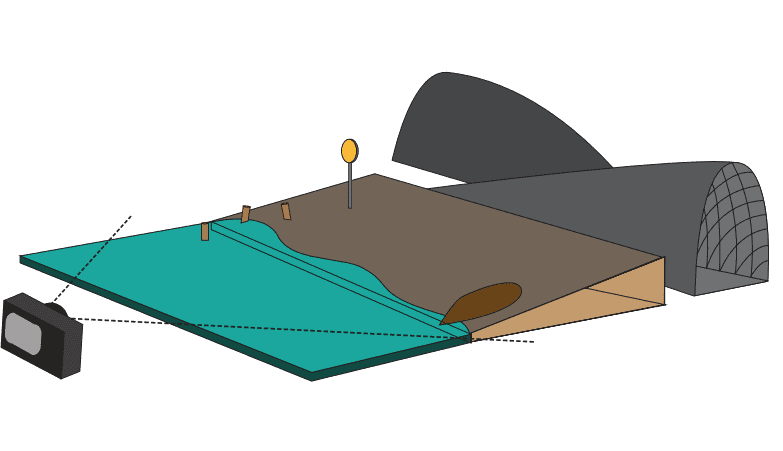 Drawn Design for beach and hills.
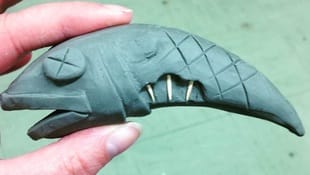
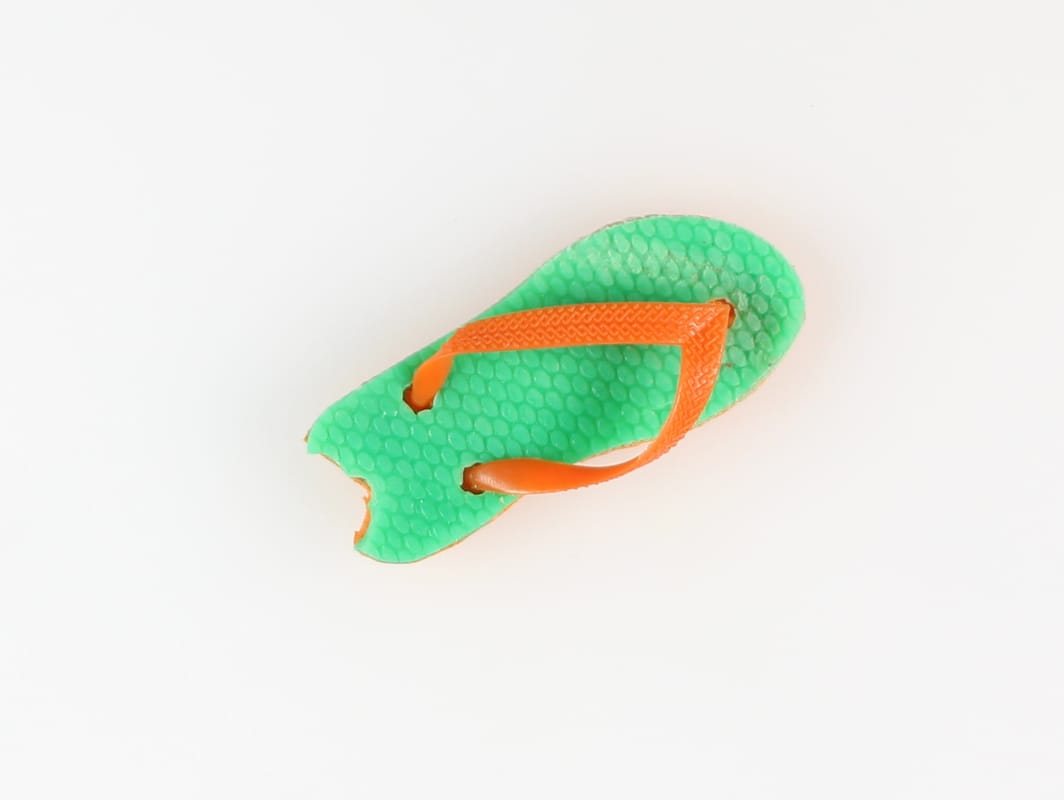
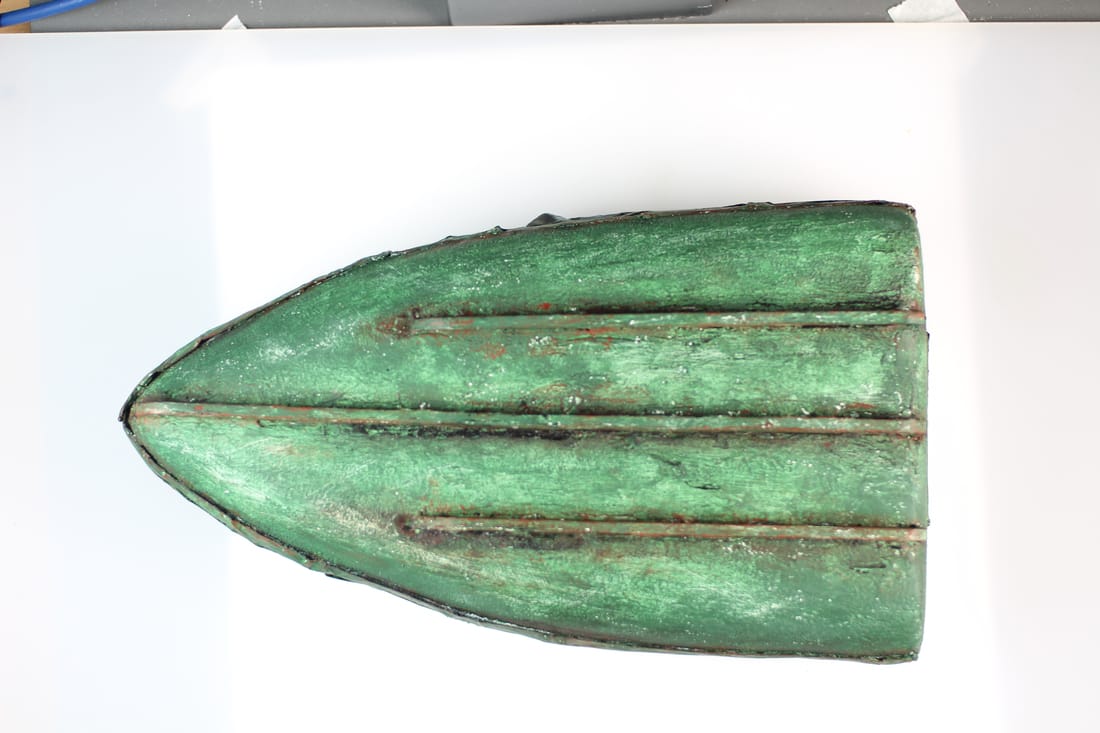
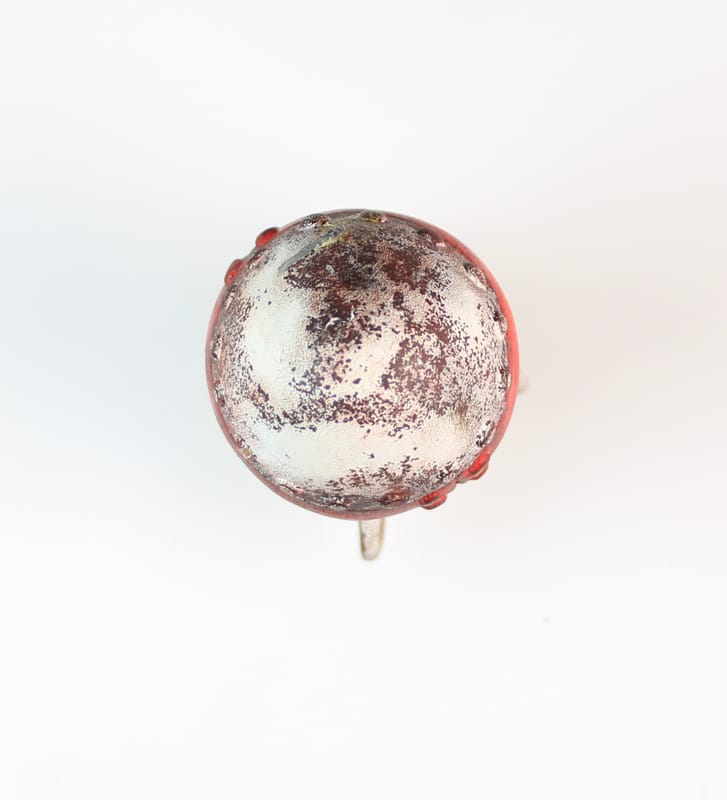
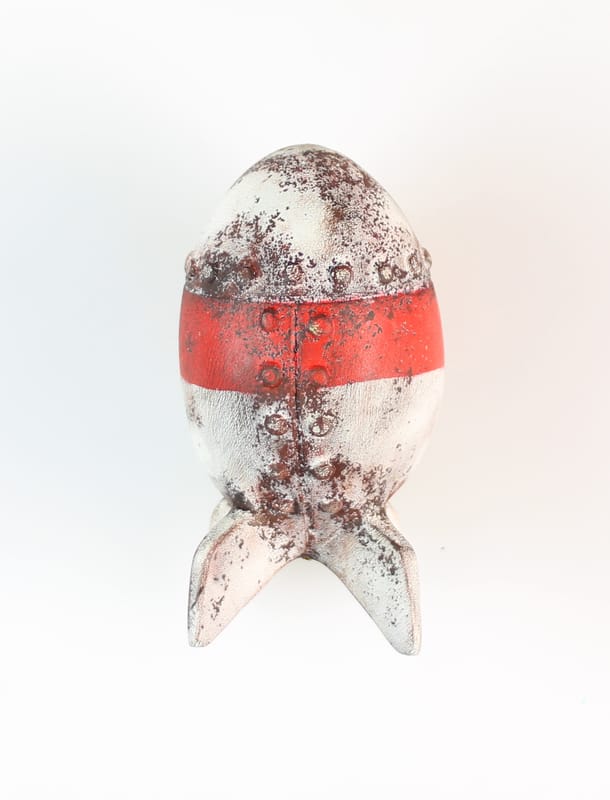
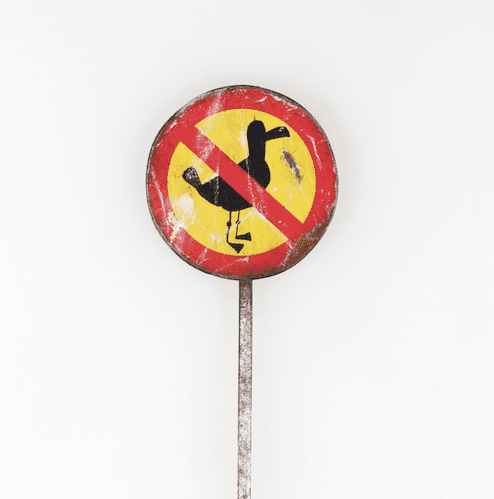
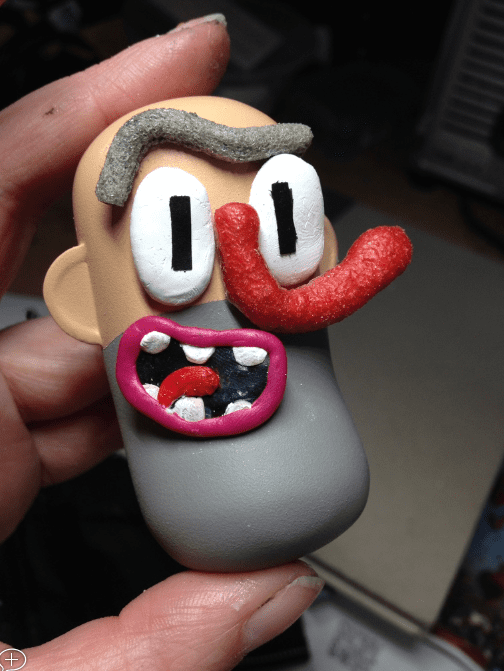
We also madea bunch of other props including a mini crab which eventualy ended up being teh only crab we used through out the film, two scales of seagul, flip flop, boat, "no seagul"sighn, stars and a bomb. The heads of our puppets are 3D printed, this isn't for lip syncing purpose, but simply to reduce the need for carving multiple heads and as our characters are meant to be twins, its also important to make them identical. So I designed some heads and got my partner Ben Mitchell to model them up in Cinema 4D. They went to print and Sasha Lawrence (my model maker on the film) has been working on sanding, priming, filling and painting the heads ever since, and there looking pretty good!
These are hand carved heads that I made and photgraphed to give to Ben to recreate in cinema 4D. 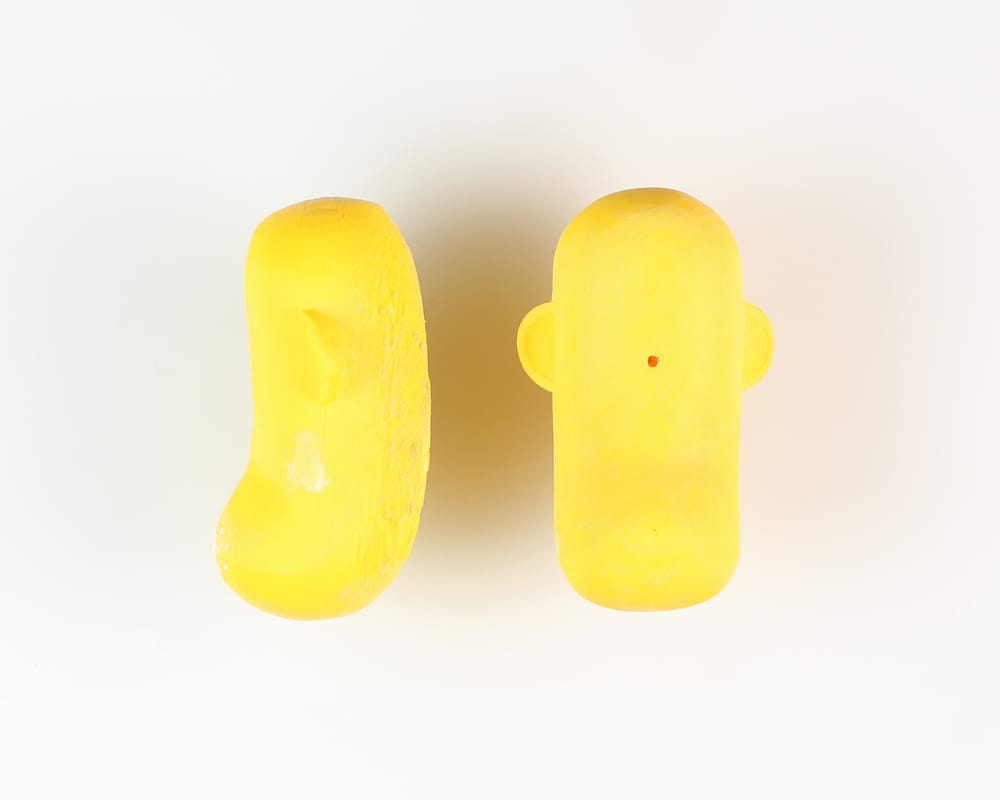 They were then printed in a plastic filmanet, sanded and maker wholes filled by Sasha Lawrance, before she then applied layers of acrylic using an airbrush. 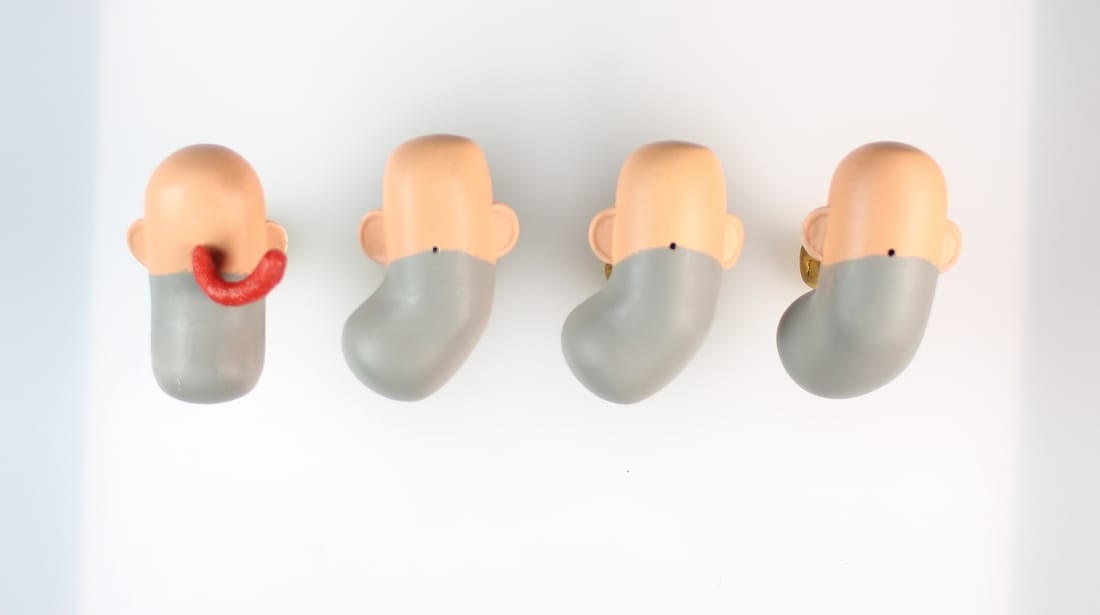
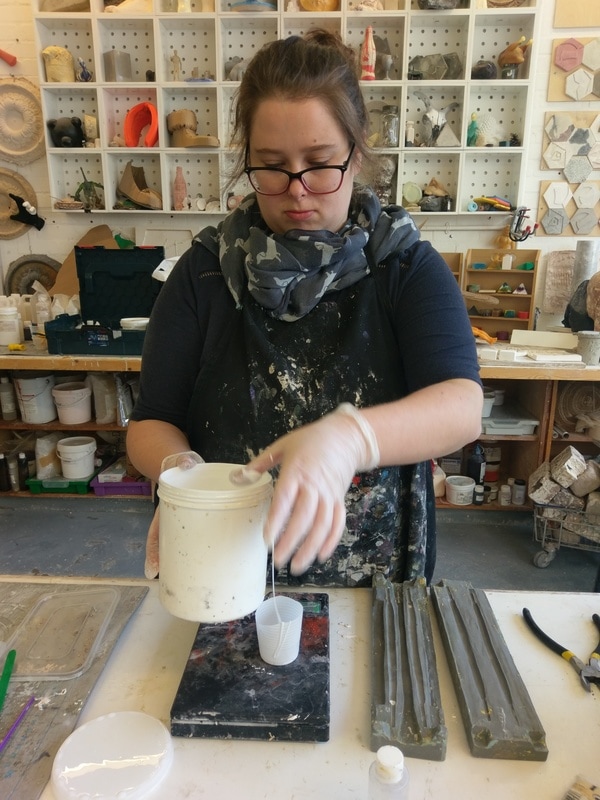
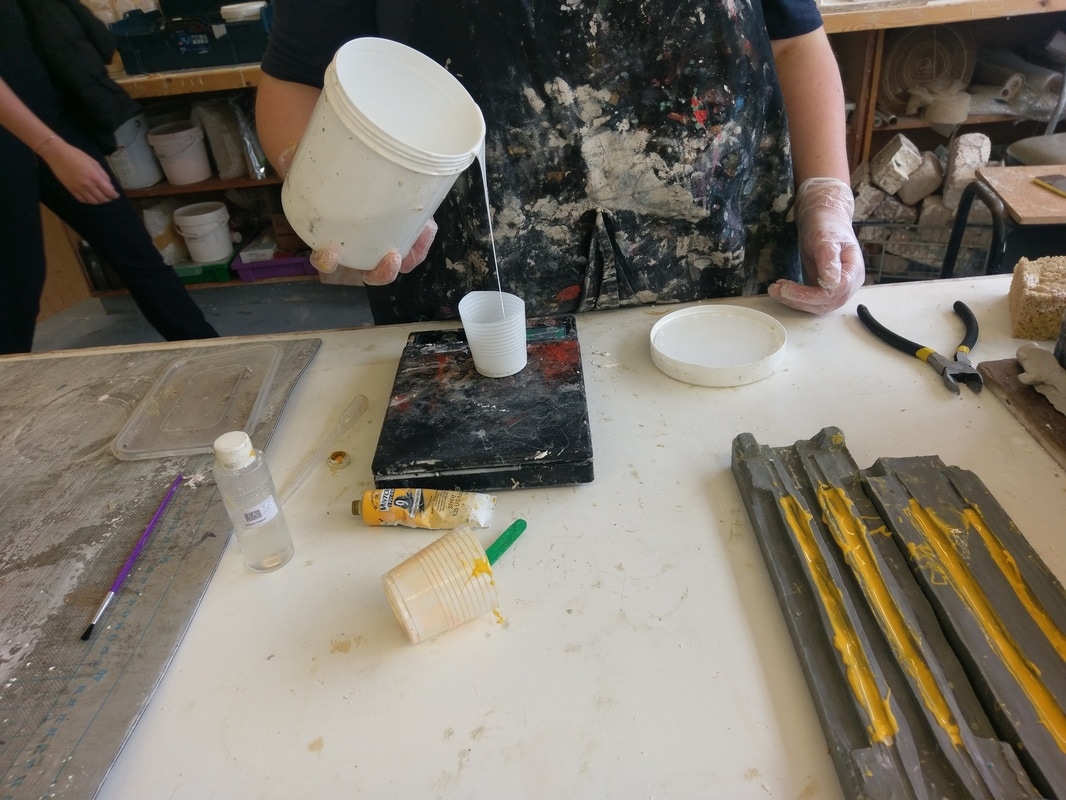
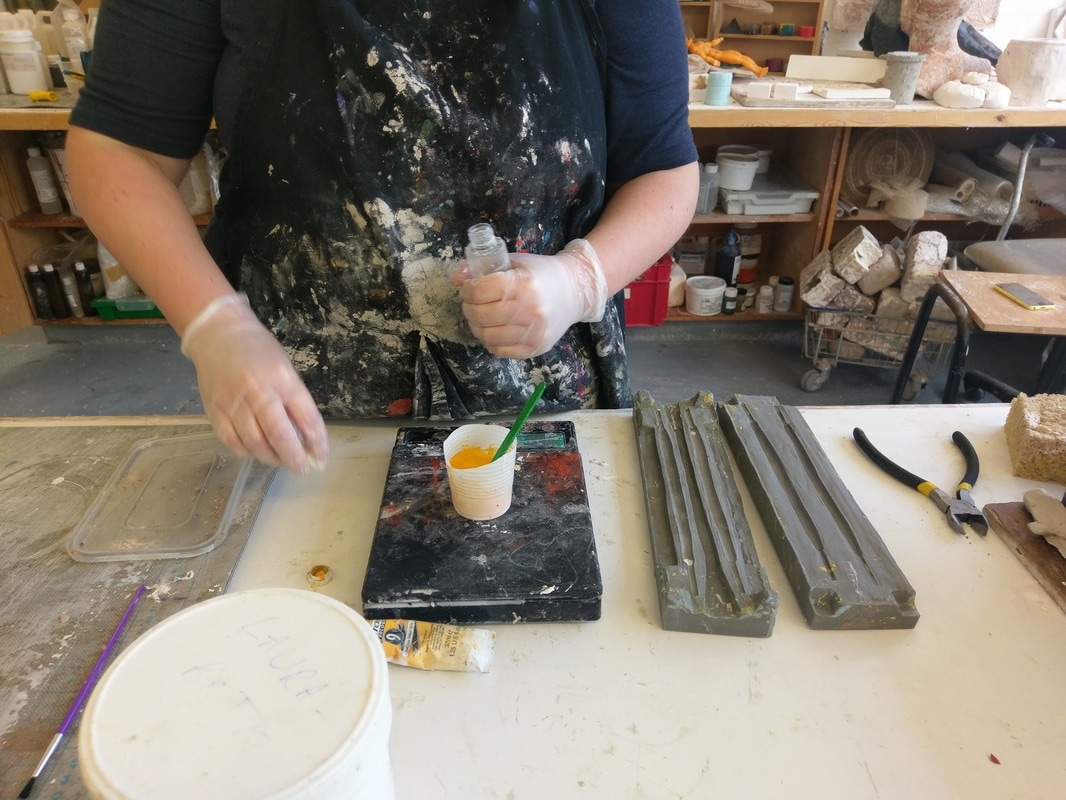
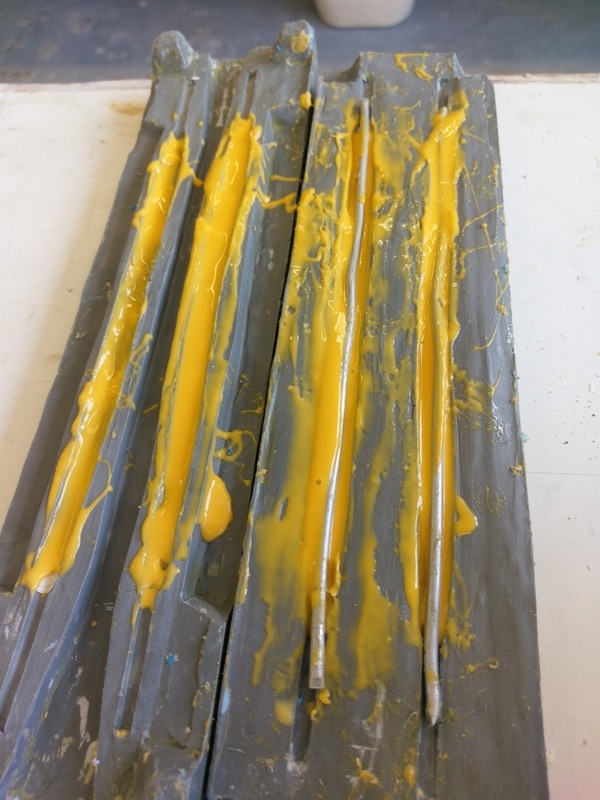
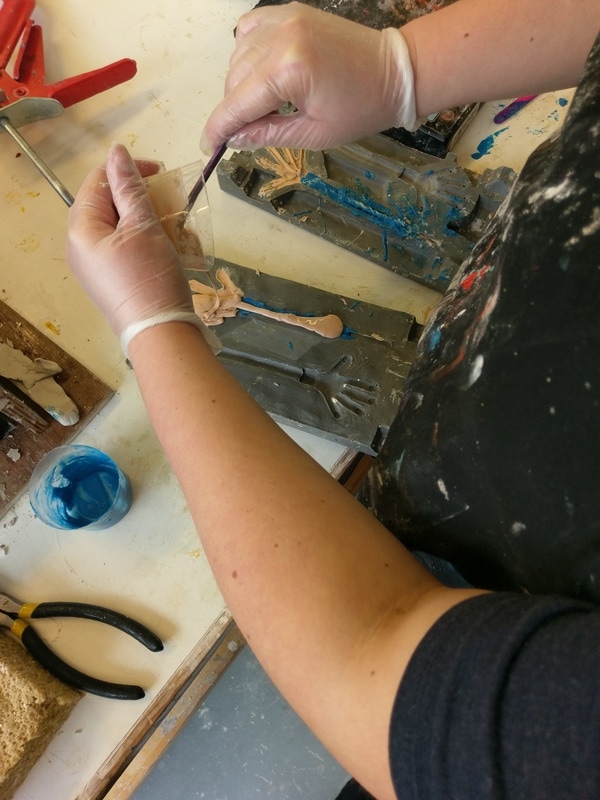
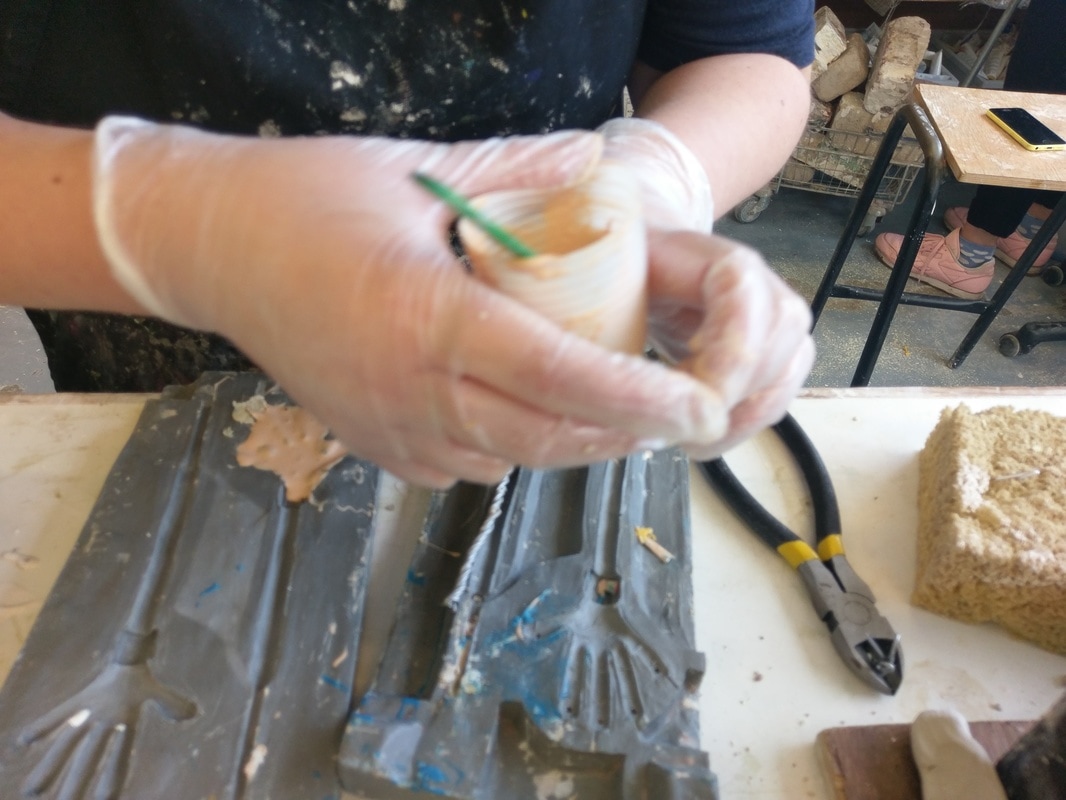
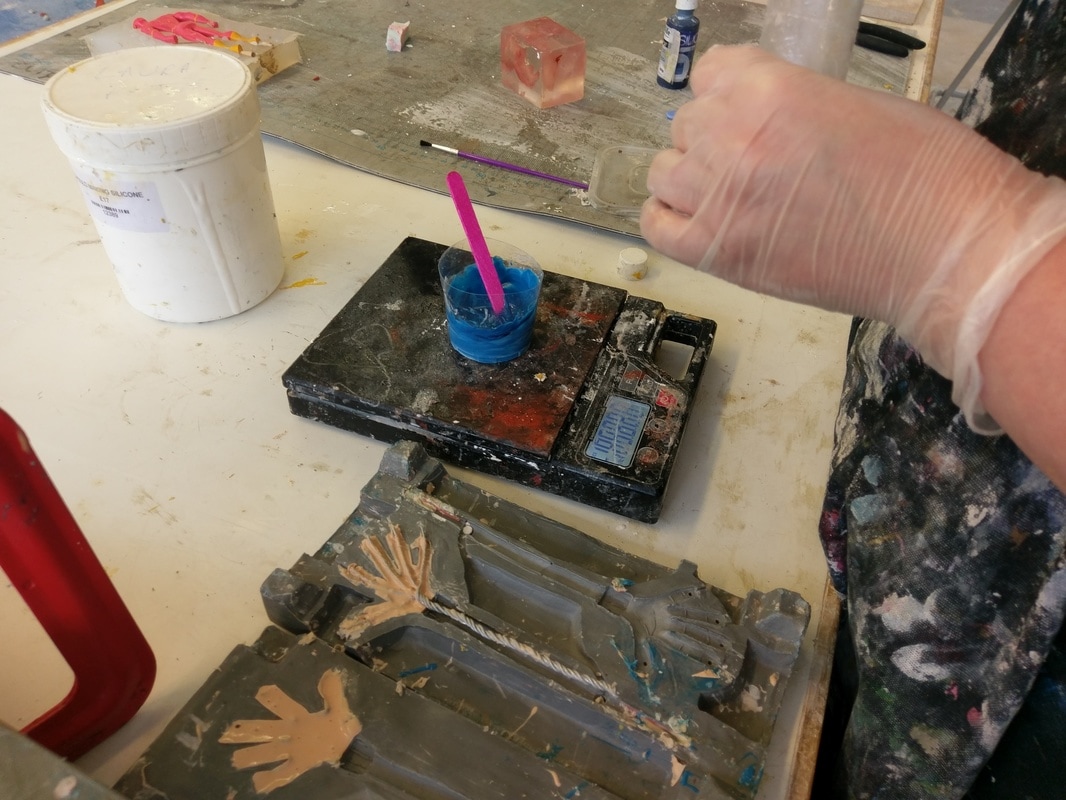
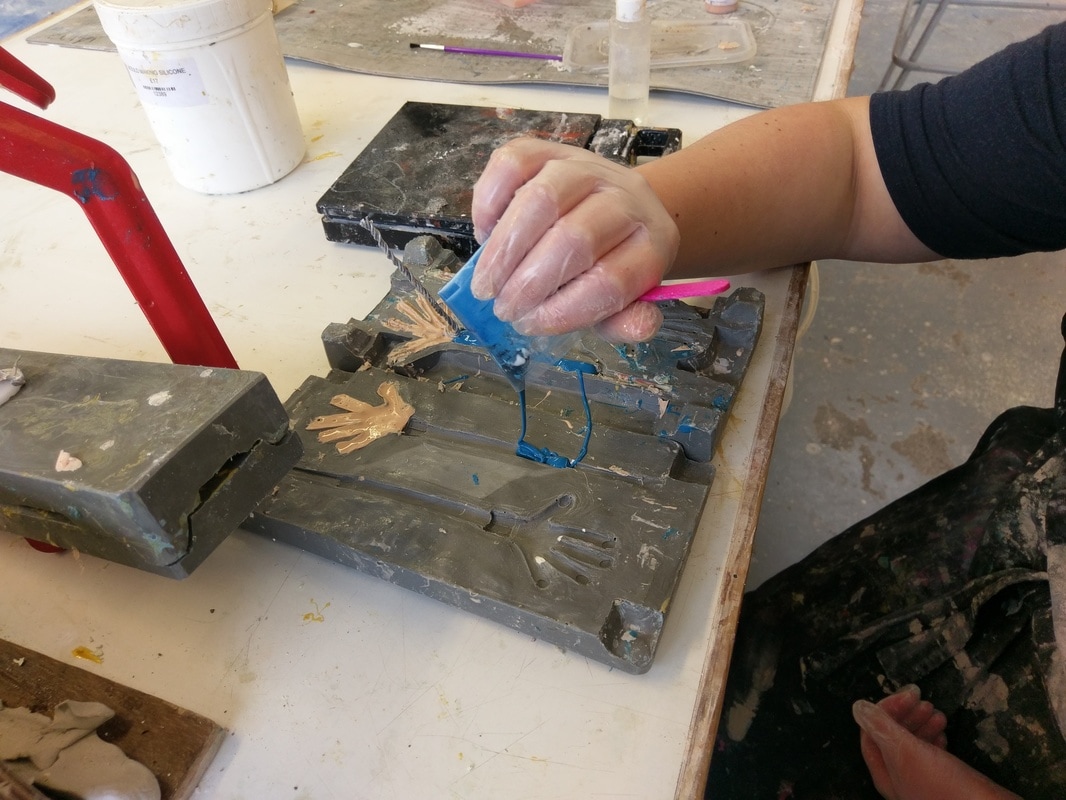
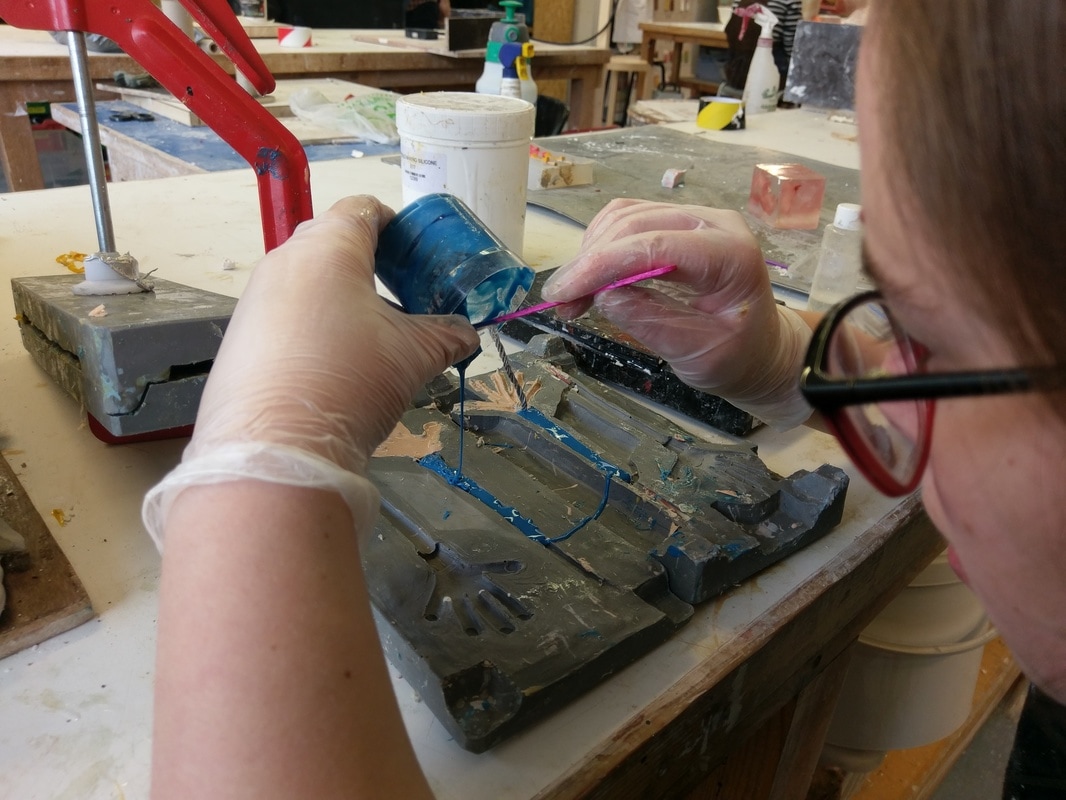
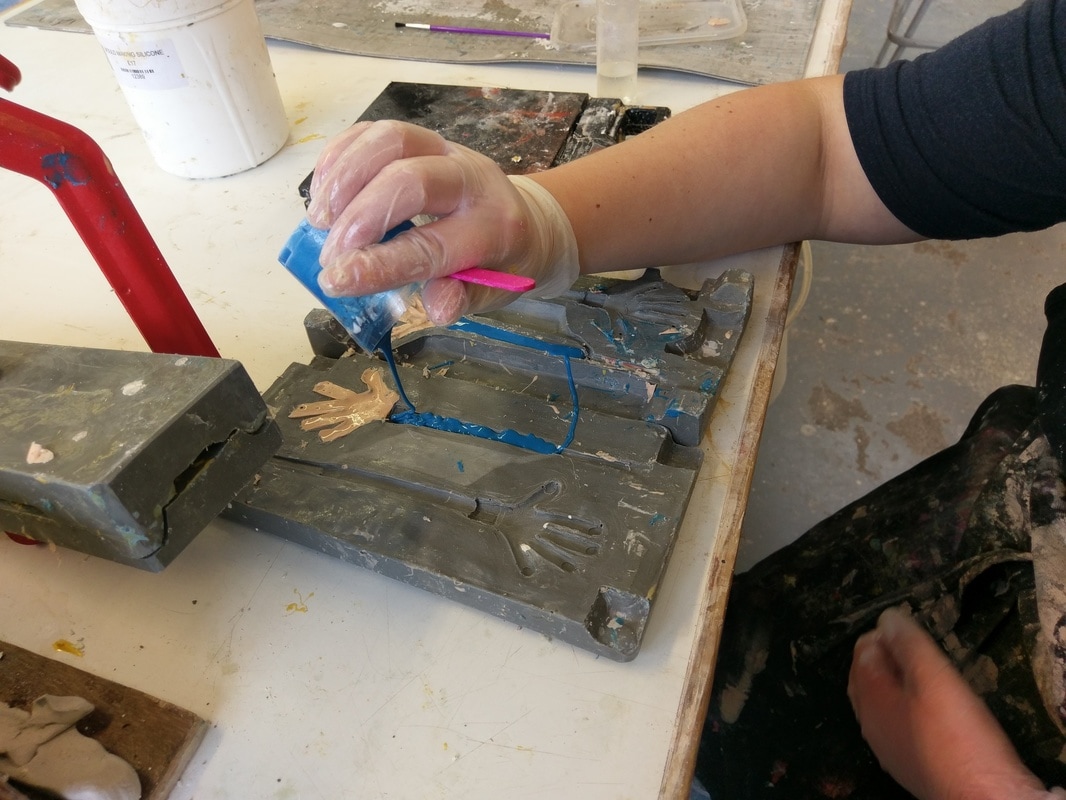
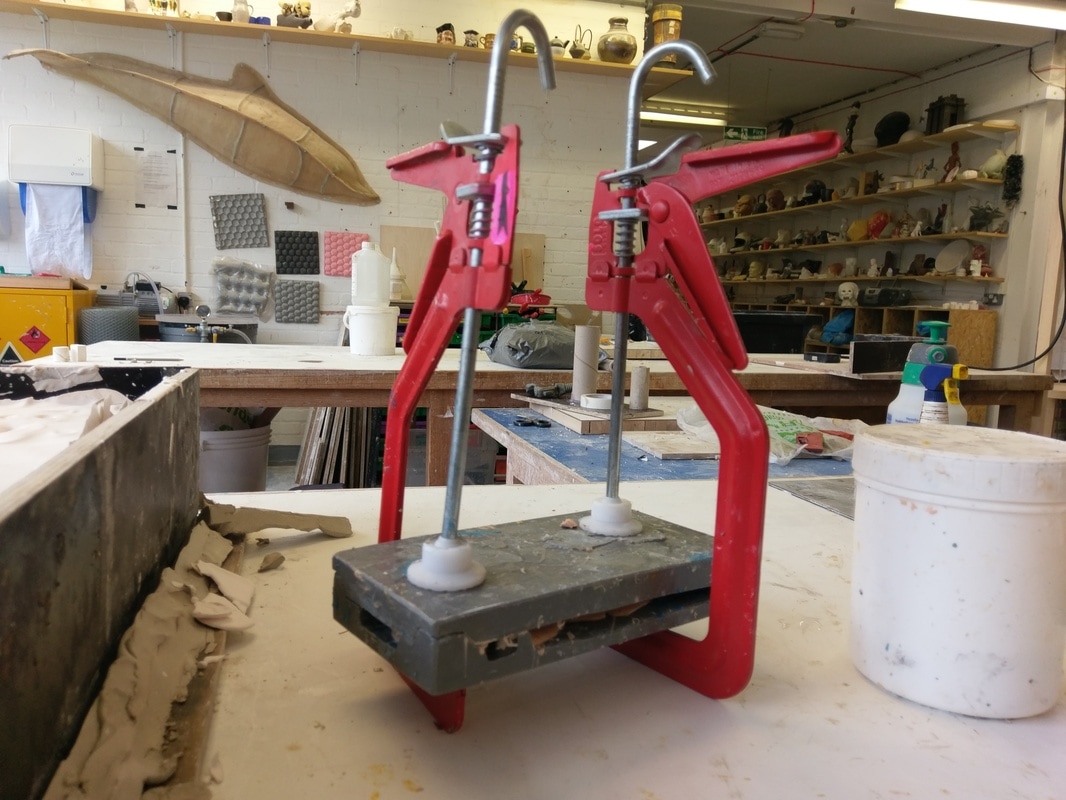
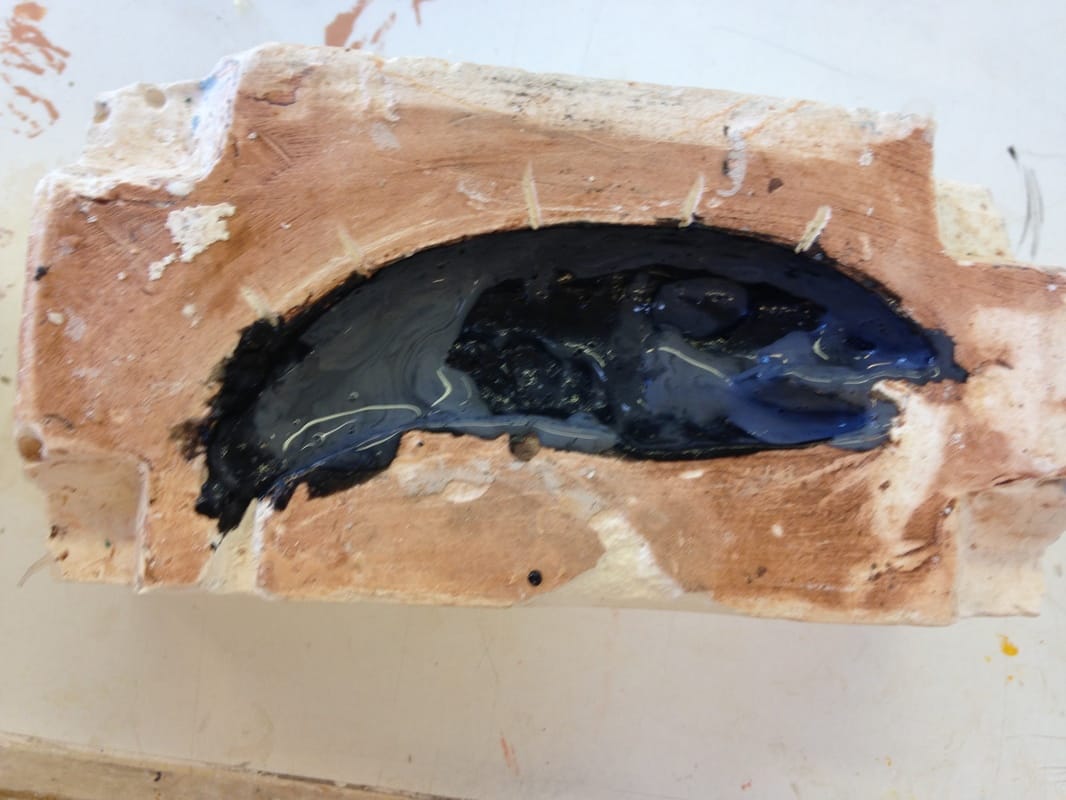
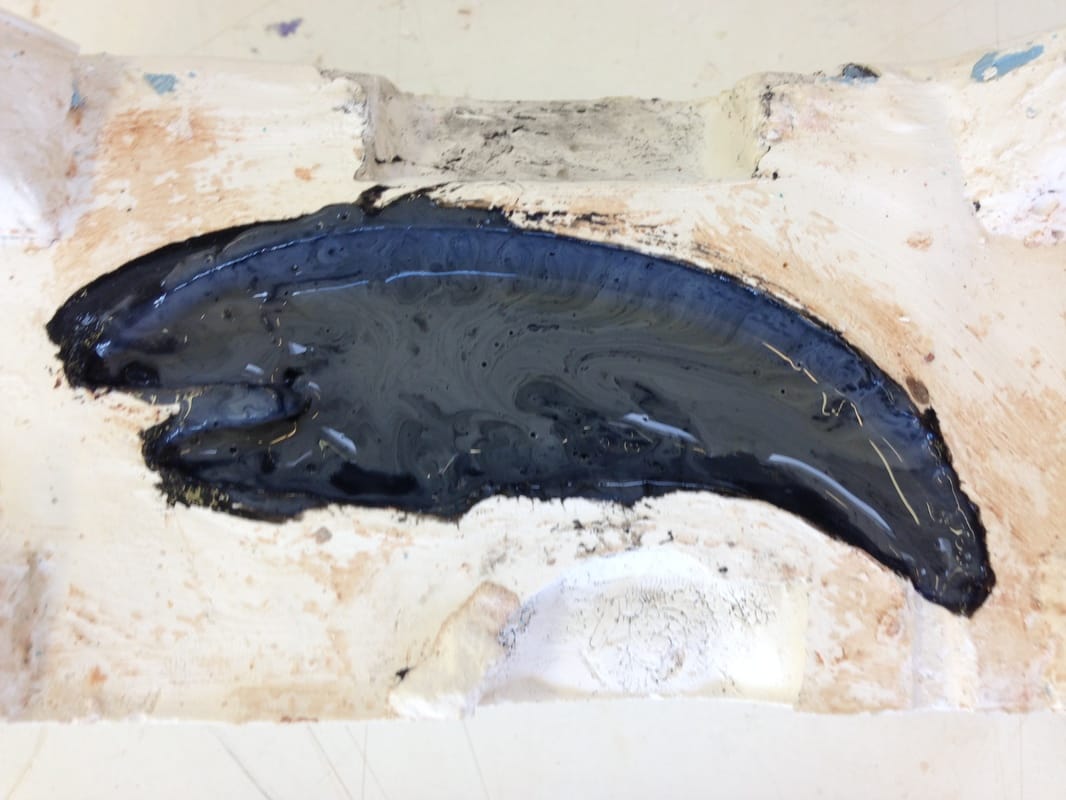
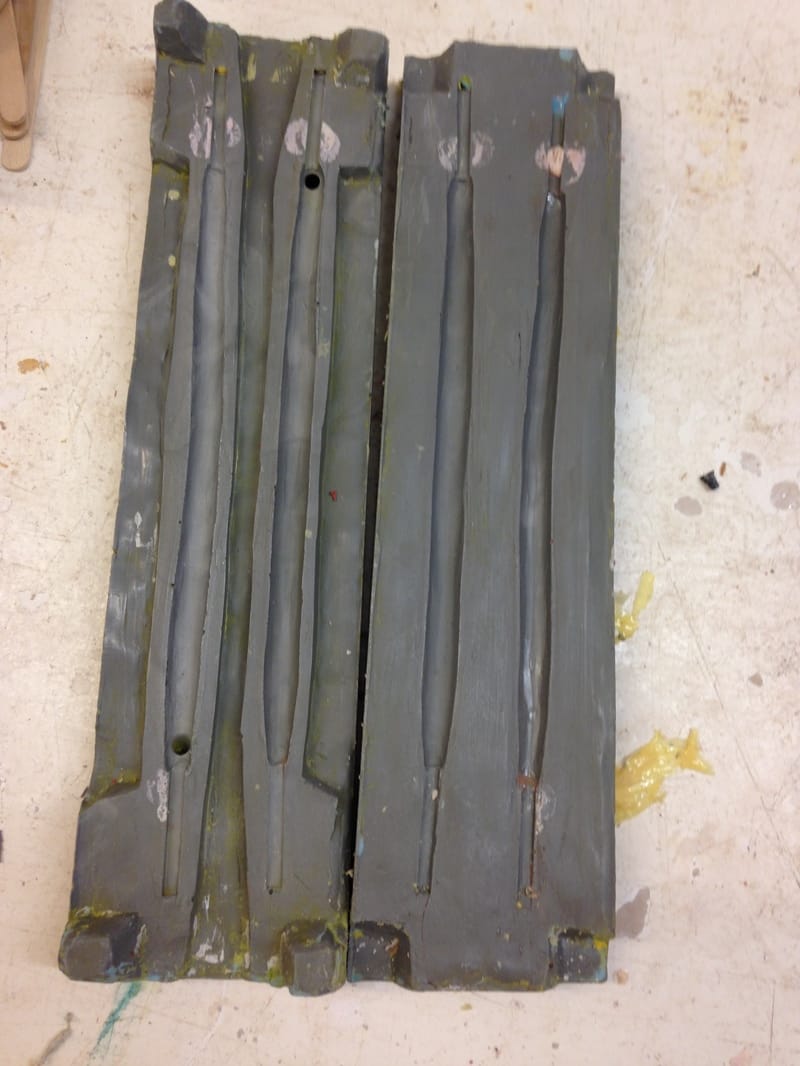
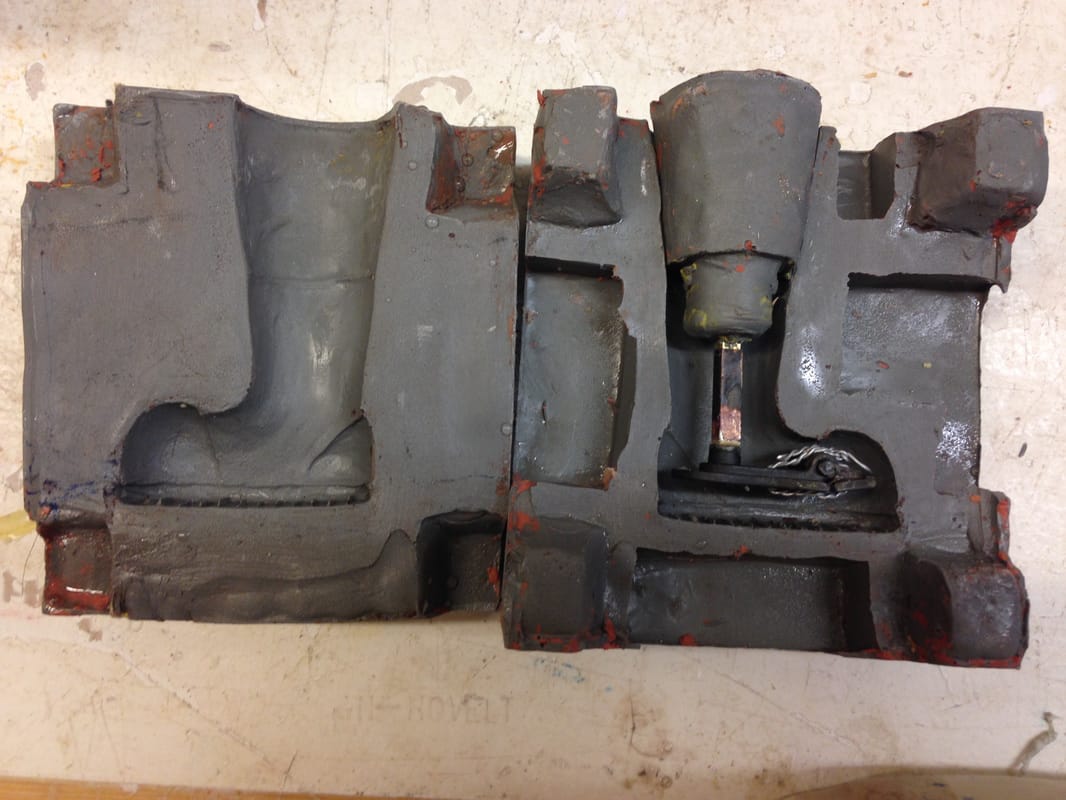
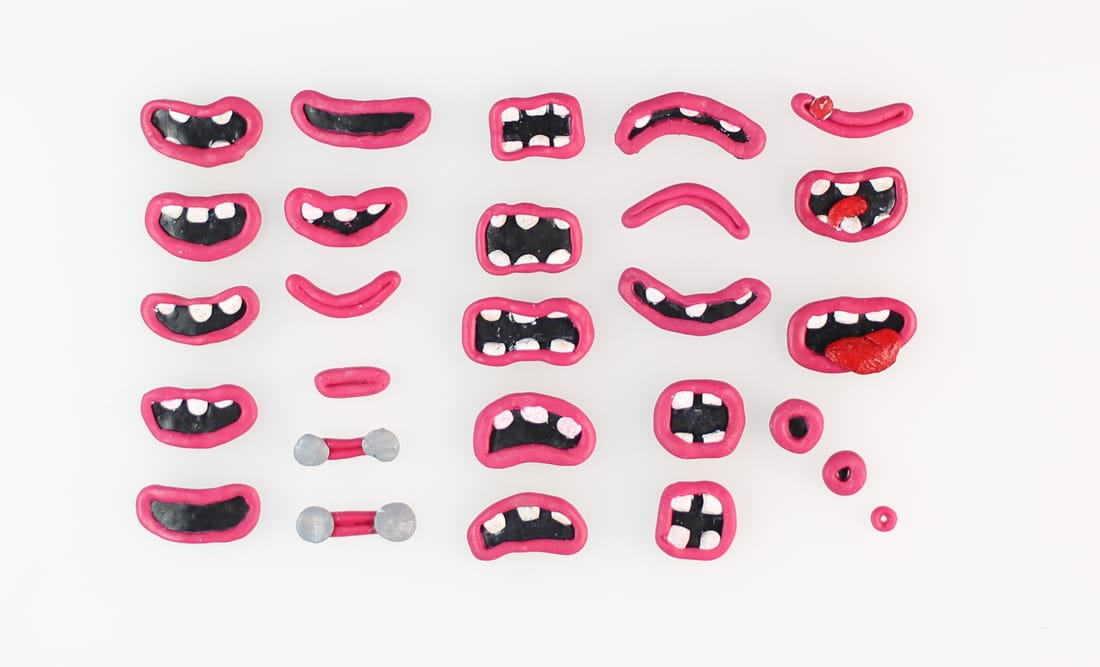 Mouth I made out of limo, for the range of expression for both Boris and Noris in the film. After our rather distressing attempt at mould making earlier in the term resulting in 4kg of ugly resin paper weights, that were completely and utterly unusable. We were very pleased to have a both the materials and brilliant support and advice of some truly brilliant model makers to help and we've had some success! Here is the prices for our hand mould. 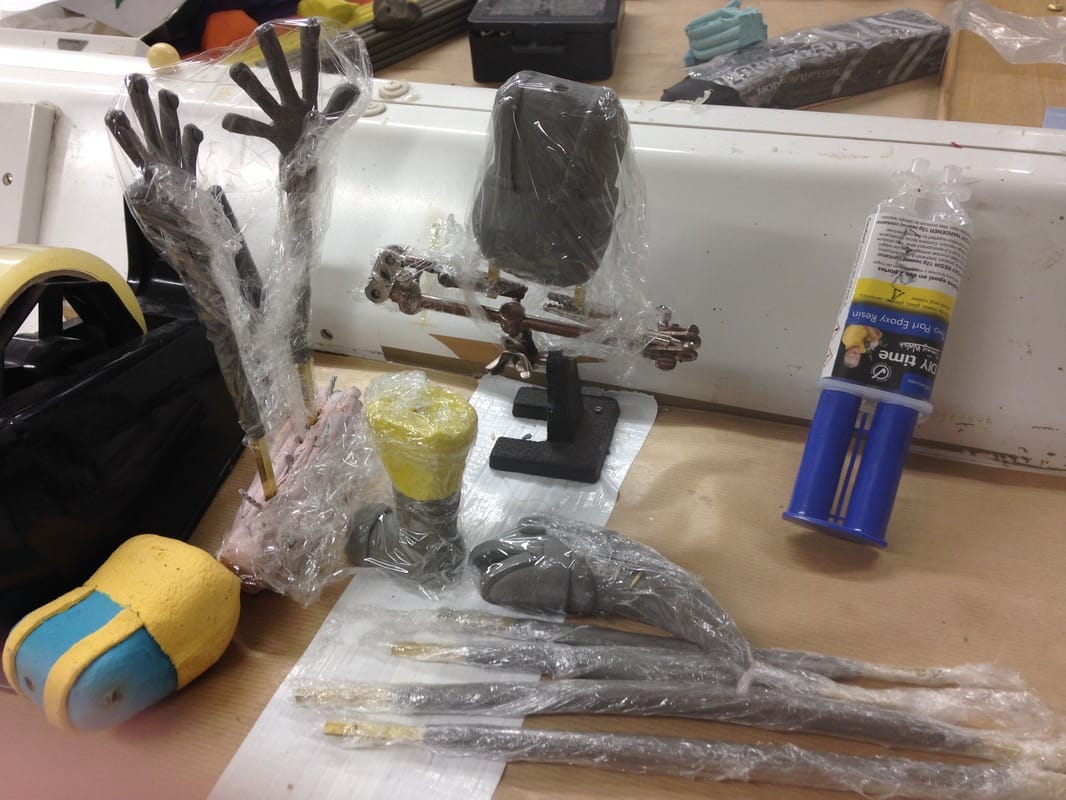 After sculpting the hand in plastline, around a wire armature, I set the the arms in terracotta clay half way up the sculpts. Paying special attention to the fingers and cleaning the side to reduce the potential of over hang and huge seemliness. 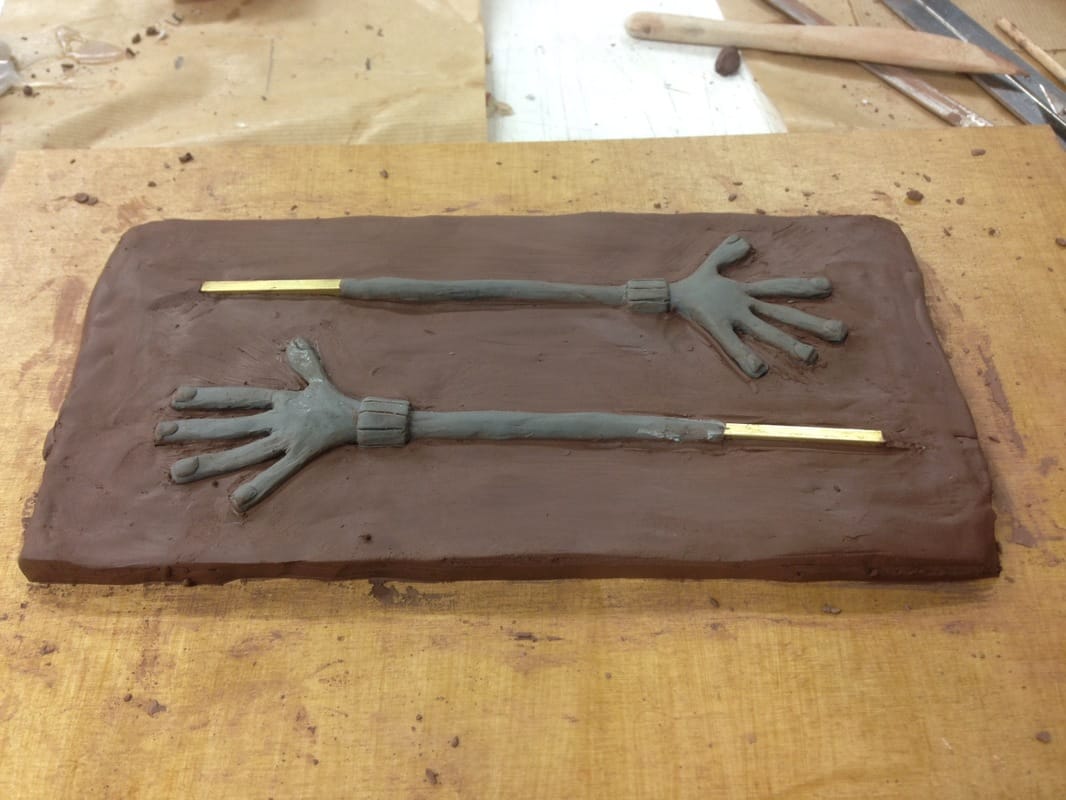 After a lot of cleaning and fiddling, I added plasticine keys (blue) and built up the walls with foam board and glue guns, checking for any wholes, potential leaking spots. 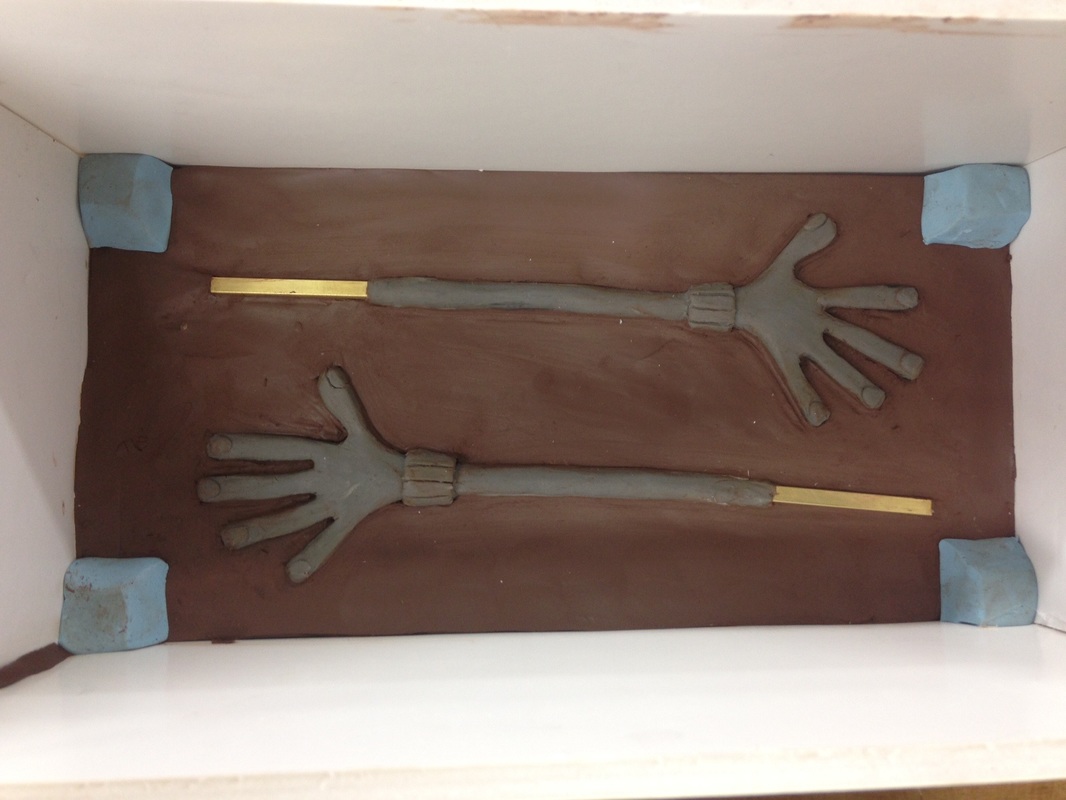 We then Mixed the two part aluminium resin to an inch above the scults we used animation toolkits Aluminium Resin Composite kit. It took roughly 630g for one side. We worked the volume exactly i just can't remember what it was. LxW=xH. Once we broke open the mould and checked for faults, and cleaned the mould and sculpts again, I then but overflow spaces to help reduce seam lines once again. This is basically making the mould as efficient as possible - so anywhere were resin could be excluded but leaving enough to create pressure around the sculpt. 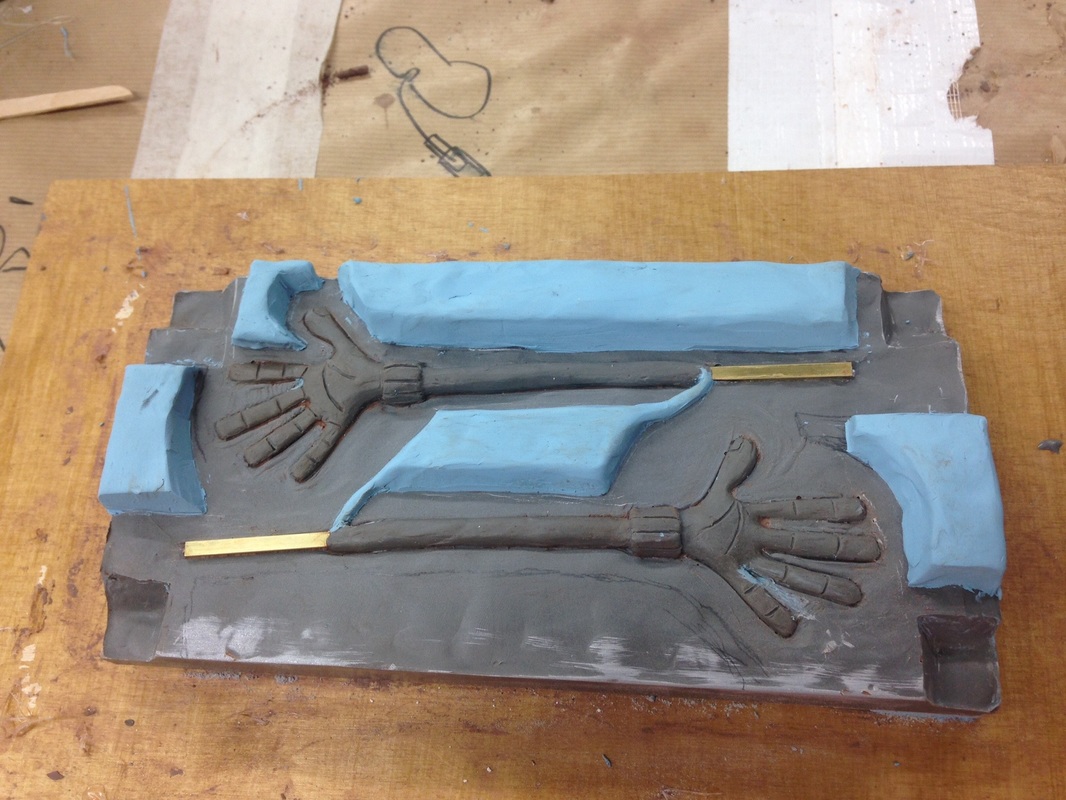 I then re-bulit the side, checked for gaps, and then filled with eh same quantity form resin for the other side, allowed it to cure overnight (just be on the safe side though it had gone of in about an hour) and Huzzah! result was pretty good, a few little holes that needed to be filled with a little bit of milliput but the moulds should cast fine, we just need to drimmel some line out of the finger to hold the wire in place and drill a hole through the arm to be able to souring in the silicone. (update to come!) 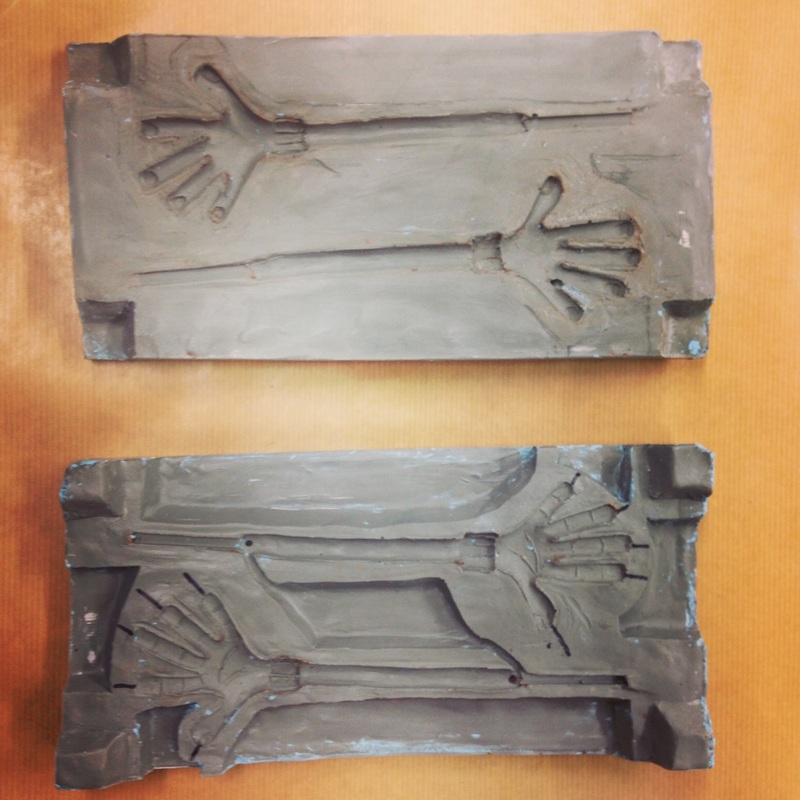 Due to the university summer break, are access to our normal studio space and animation facilities have been closed from may through to September. So we've taken up residence in a local stop-motion studio, who very kindly has offered us space throughout the summer to help us get ready for filming in September. With a mammoth amount still to do for sets, props and puppets for the film, this was a real life saver and hugely appreciated. 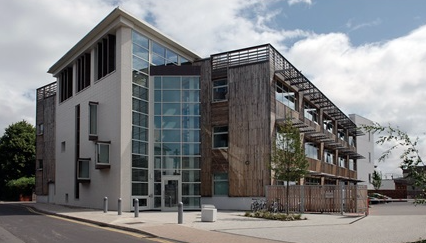 We were also really very lucky in the fact that an old contact of mine - Wes Wood at animation toolkit has offered to supply us with materials to help us make the film. We now have everything we need to make the best quality puppets, sets, a props we possible can. All supplied form his online shop at http://www.animationtoolkit.co.uk. This teamed with the very knowledgable, friendly and kind model makers/animtors at the studio were staying with- which will enable us to make Brois-Noris the best it possibly can be!
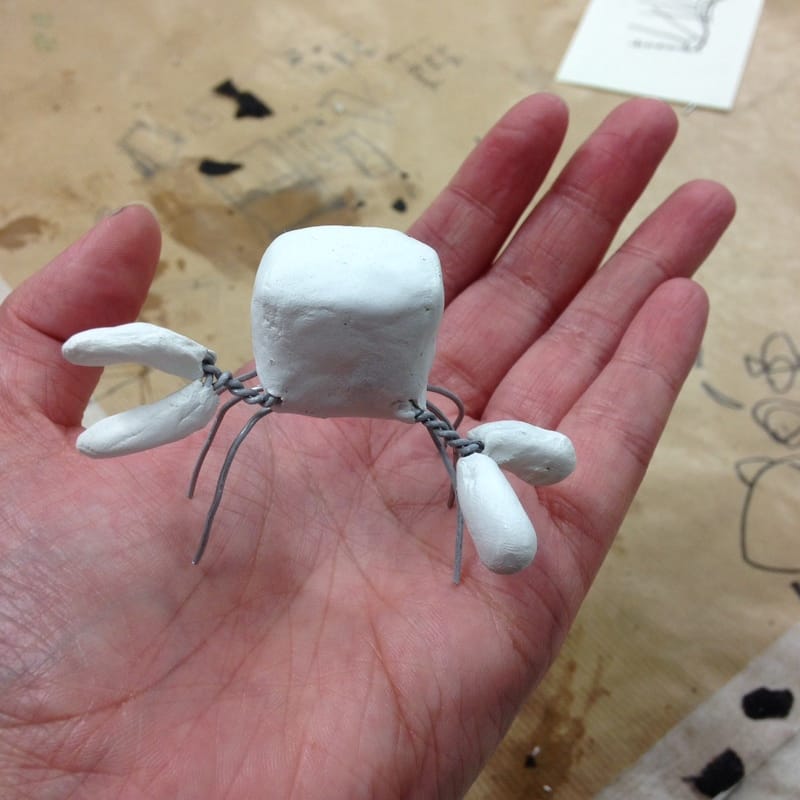
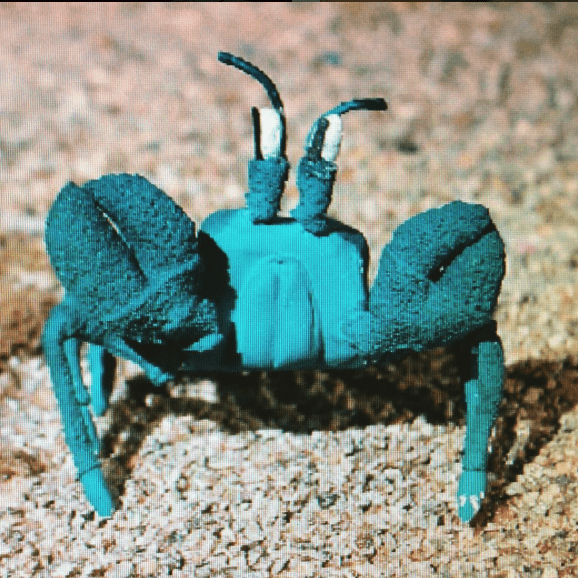
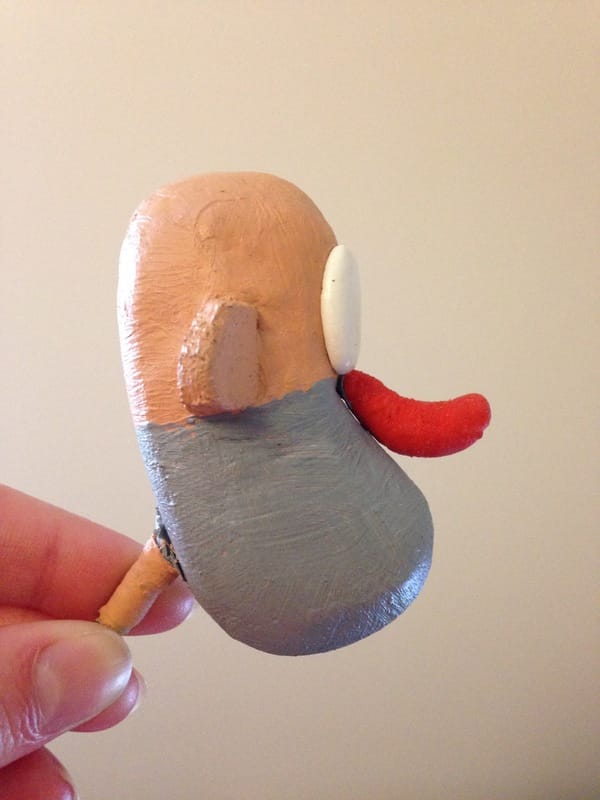
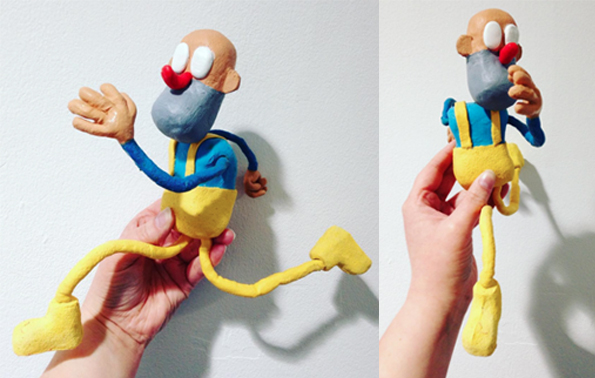 so here is a mock up of the final looks and style for boris and Noris, this has all been put together cheaply and quickly but he's basically correct. the legs and arm will now be casted and moulded to create multiples, a slightly cleaner version of the torso will be created both in this form and in the reverse colours, taller boots will be developed and a smaller head will be reproduced using rhino and 3D printing.
I will be testing him next week though to test weather he need longer versions of the legs for exsaduration in runs, as well as if the new solid body is ok, originally I had planned to have a armatured body but it would make life a lot simpler without. Id also like to set the legs slightly further apart. |
DescriptionThis is a space for development work of my grad film BORIS-NORIS. A slap stick stop-motion film about NOT sharing. Archives
July 2018
Categories
All
|
||||||||||||


BORIS-NORIS FILM BLOG